★★☆☆☆ Starter folds · 7 steps
Tulip with a Folded Stem
Published · By The Origami Desk
A tulip is a kite base with a petal fold at the top and a small opening at the bottom. The bud is hollow, which is the whole point — a solid bud looks like a paper cone.
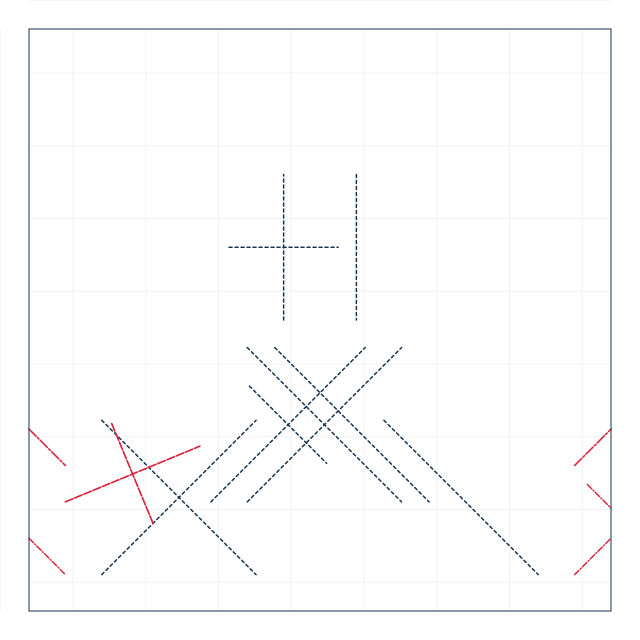
finished crease pattern
Fold sequence
7 / 7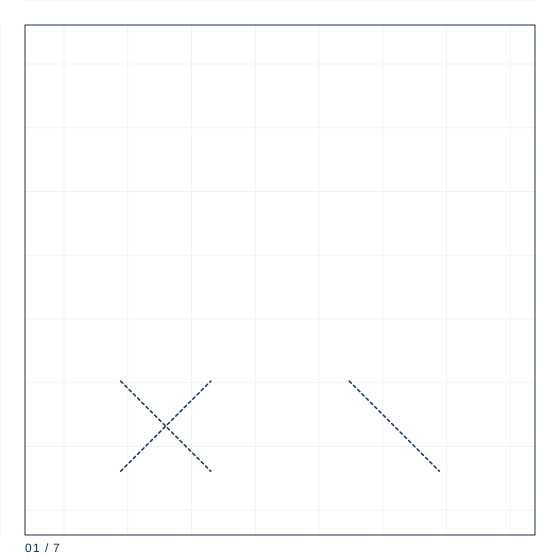
Step 1
Square 15 cm, coloured side up. Fold both diagonals, then turn the sheet over.
Step 2
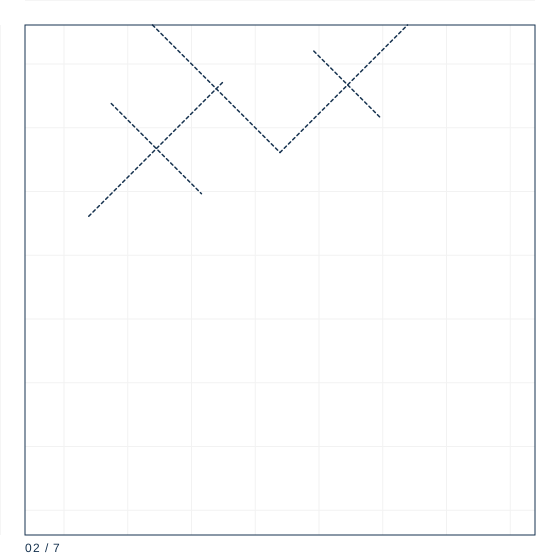
Fold both centre lines as valleys, then collapse the sheet onto the preliminary base.
Step 3
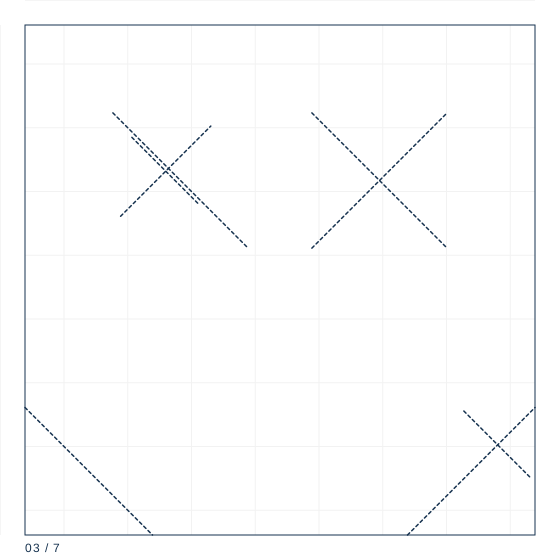
Place the base with the open end down. Fold the lower left and lower right edges of the top layer in to the centre line to make a kite.
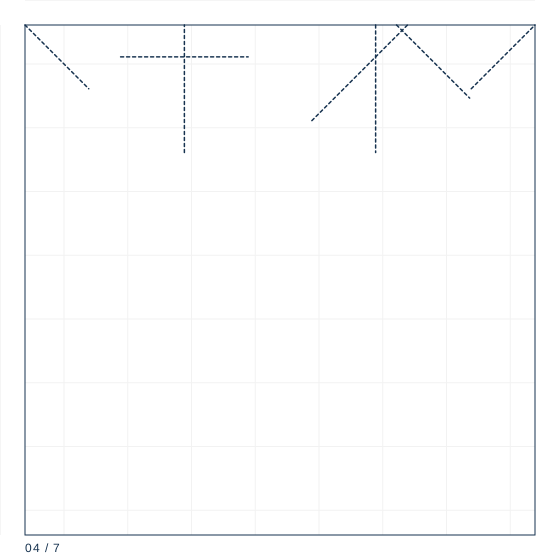
Step 4
Fold the top triangle of the kite down, crease, and unfold it.
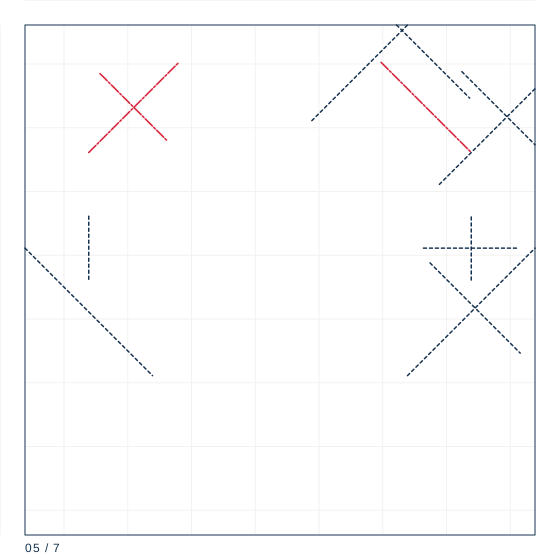
Step 5
Lift the top layer and squash it down along that crease so the sides swing in. This forms the first half of the cup.
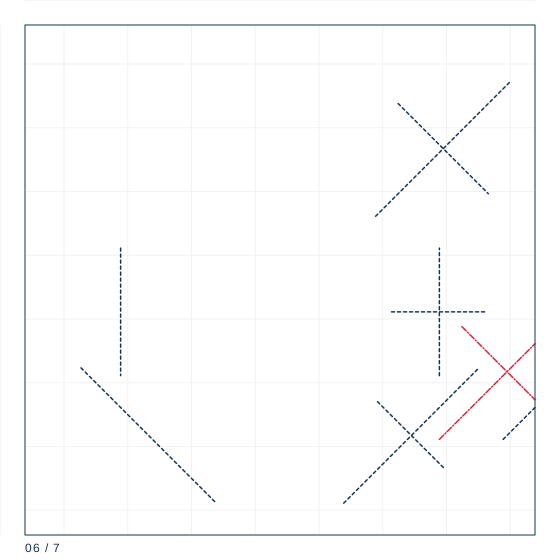
Step 6
Turn over and repeat steps 3 to 5. You now have a bud with four flaps.
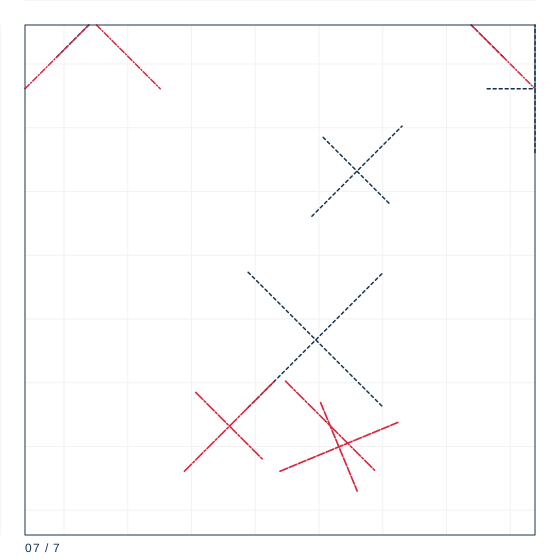
Step 7
Open the bud from the bottom, push the centre up gently with a fingertip, and roll each of the four rim edges outward over a pencil.
Making the bud hollow
Steps 5 and 6 form the cup. The petal fold at the top spreads the two upper flaps into a rounded rim, and the bottom point stays loose so it can be opened afterward. A 15 cm tulip is 6.5 cm tall with a mouth 3.2 cm across, which is wide enough to hide a small wrapped sweet inside.
The stem that stands up
The stem is folded from a 7.5 cm square: roll it into a thin tube around a bamboo skewer, then squash one end flat and slide it into the bud's bottom point. Squashing the flat end before inserting it is what stops the stem from rotating once the flower is on — a rolled tube pushed straight in will spin freely.
Curling the petals
Real tulips have petals that curve outward at the top. To imitate it, roll each of the four rim edges outward around a pencil, about 1 cm of curl. Roll toward the outside only: rolling inward collapses the cup and the bud will not hold its shape.
Paper specification
| Sheet size | 15 cm |
|---|---|
| Sheet ratio | 1:1 |
| Paper weight | 70 gsm |
| steps | 7 |
| Difficulty | ★★☆☆☆ |
| Base | kite-bud |
15 cm square at 70 gsm for the flower, plus a 7.5 cm square at 90 gsm for the stem if you want a pair.
Crease symbol quick reference
| Crease notation used | count | first move |
|---|---|---|
| Mountain fold | 1 | Locate the line on the diagram; confirm the direction by looking at the adjacent valley folds. |
| Valley fold | 4 | Bring the edge or corner exactly to its target point and hold it there. |
| Reverse fold | 1 | Open the point along its existing crease, all the way to the base. |
| Petal fold | 1 | Fold the cross crease where the new point will begin, then unfold it. |
What goes wrong
The bud collapses when opened
The rim folds were rolled inward. Re-roll all four toward the outside.
The stem spins
The end was not squashed flat before inserting. Flatten the last 1.5 cm of the tube and re-insert.
Making it hold
- Keep the bottom point of the bud open; it is the socket for the stem.
- Roll the rim over a pencil, not a pen — a pen tip creases the paper.
- Make the stem's flat end wider than the bud opening so it wedges, not slides.