★★☆☆☆ Starter folds · 8 steps
Waterbomb Balloon (Mizusenbei)
Published · By The Origami Desk
The only common origami model where the last step is to blow into it. The cube-shaped balloon holds pressure because every face is a pair of doubled triangles locked along the diagonals.
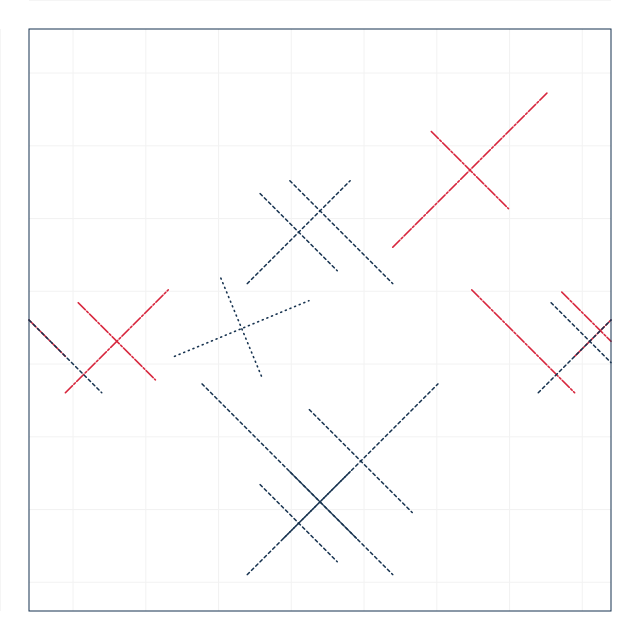
finished crease pattern
Fold sequence
1 / 8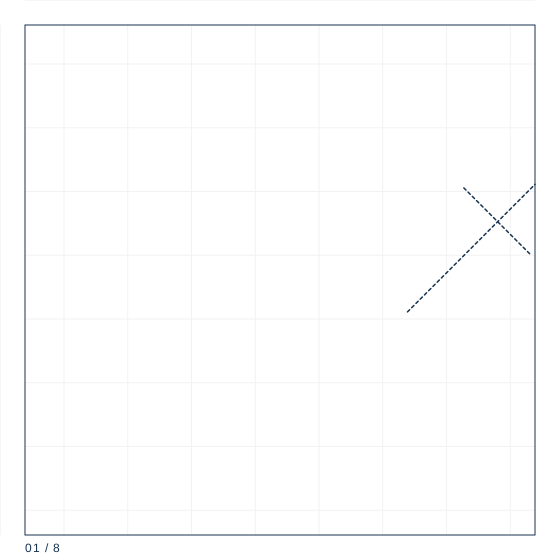
Step 1
Square 15 cm, coloured side down. Fold both diagonals as valleys, then turn the sheet over.
From the waterbomb base
Steps 1 to 4 build the waterbomb base: a square collapsed on both diagonals so that four triangular flaps radiate from a single point. Hold the base pointing up and you can count the layers — four on each side, eight in total. Every subsequent fold folds two layers at once, which is why the model is far more forgiving than it looks.
The four reverse folds
Steps 5 to 7 are four reverse folds, one per flap, each bringing the outer corner in to meet the centre line. Fold them in matching pairs: front-left with front-right, then back-left with back-right. If a pair is off by more than about 1 mm, the balloon inflates into an egg instead of a cube, because the four corners no longer meet at a single point.
Inflation and abuse
A 15 cm balloon inflates to a cube roughly 6 cm on a side and will hold air for about two days. Blow in short puffs rather than one long breath, and stop when the paper goes tight — the classic failure is over-inflating, which splits the paper along the top mountain creases. Bounce it off a table and it makes the flat crack that gives the model its Japanese name.
Paper specification
| Sheet size | 15 cm |
|---|---|
| Sheet ratio | 1:1 |
| Paper weight | 70 gsm |
| steps | 8 |
| Difficulty | ★★☆☆☆ |
| Base | waterbomb |
15 cm square at 70 gsm, folded from the coloured side out so the inflation creases sit on the white face.
Crease symbol quick reference
| Crease notation used | count | first move |
|---|---|---|
| Valley fold | 5 | Bring the edge or corner exactly to its target point and hold it there. |
| Reverse fold | 4 | Open the point along its existing crease, all the way to the base. |
| Sink fold | 1 | Identify whether the sink is open (no layers on top) or closed (layers pass over it). |
What goes wrong
It splits when inflated
Too much air. Stop as soon as the faces feel taut; the paper has no stretch.
The hole will not open
The bottom point was crushed flat in step 4. Reopen it gently with a pencil tip before blowing.
Making it hold
- Fold the reverse folds in pairs, not one at a time, so the symmetry self-corrects.
- Blow in three or four short puffs; a single long breath tears the top.
- If it inflates as an egg, unfold the last four folds and re-align the corners.