★★★☆☆ Core folds · 8 steps
Swan with a Curved Neck
Published · By The Origami Desk
The swan is a bird base where one point is made twice as long and then shaped into an S. The whole model depends on one inside reverse fold that has to be placed at exactly the right height.
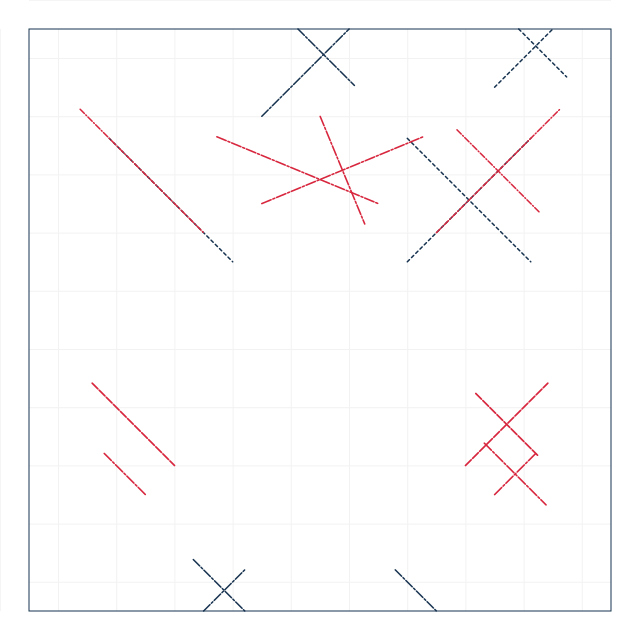
finished crease pattern
Fold sequence
8 / 8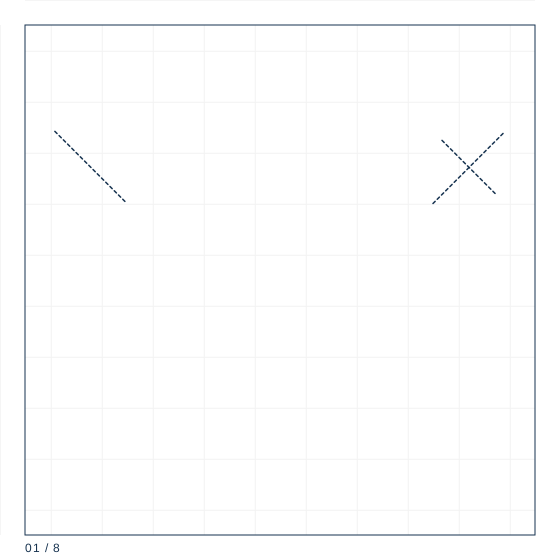
Step 1
Square 20 cm. Fold both diagonals and both centre lines as valleys, then collapse onto the preliminary base.
Step 2
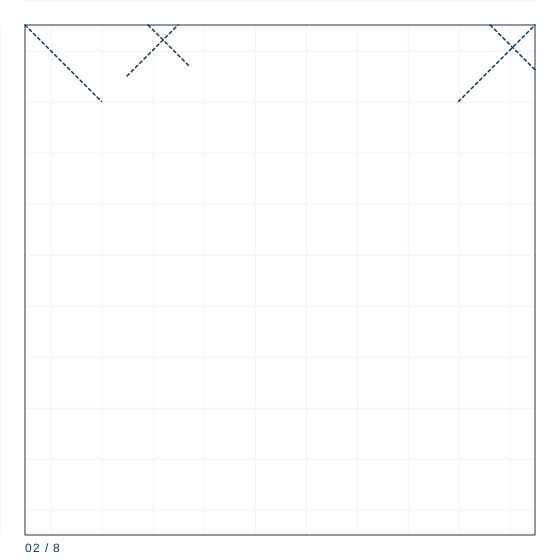
Turn the base so the open end is at the bottom. Fold the lower edges of the front layer in to the centre line, then petal fold the front layer flat.
Step 3
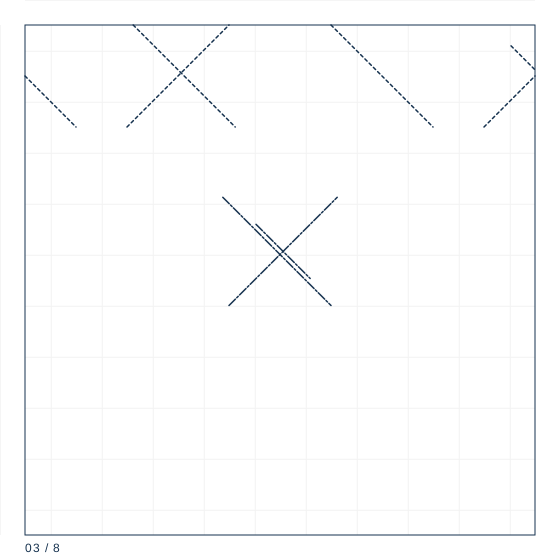
Turn over and repeat step 2 on the back. You now have a bird base with two long points.
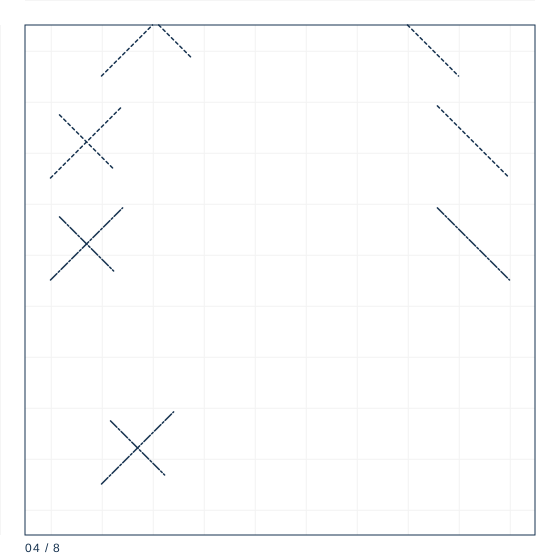
Step 4
Fold both long points up so they stand vertically, then inside reverse fold each of them once more to double the length of the neck point.
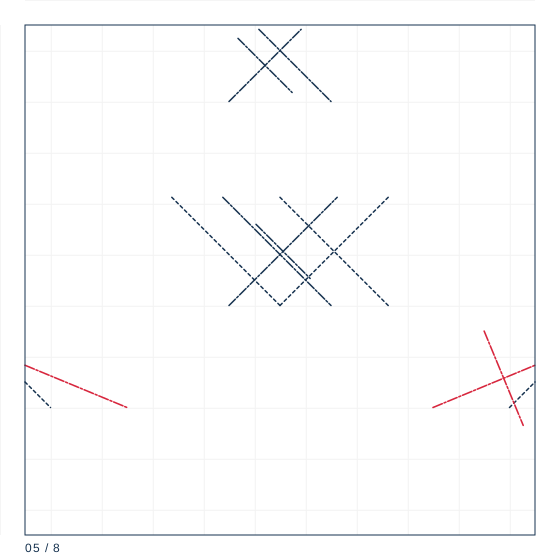
Step 5
Thin both wings by folding their outer edges in to the wing centre lines, from the tip inward.
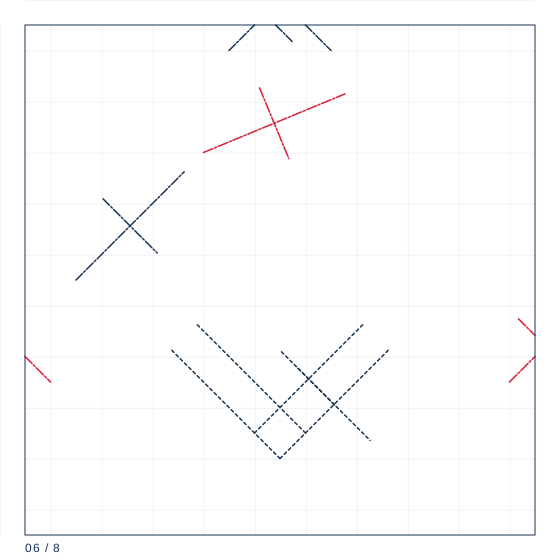
Step 6
Set the first neck bend 3.5 cm from the body at 55 degrees upward, using an inside reverse fold.
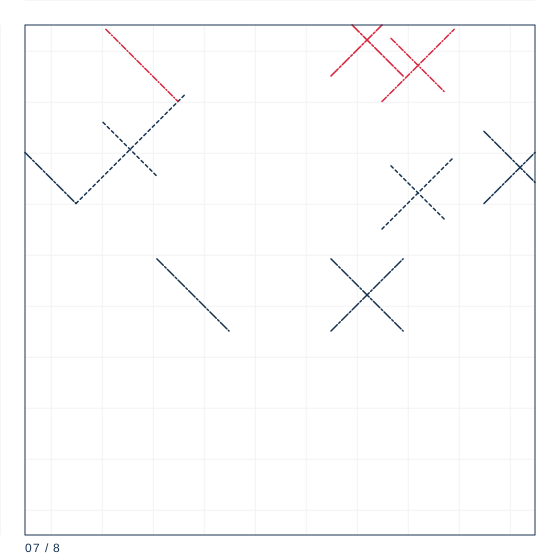
Step 7
Set the second bend 7.4 cm from the body at 70 degrees forward, then pinch the head into a small reverse fold.
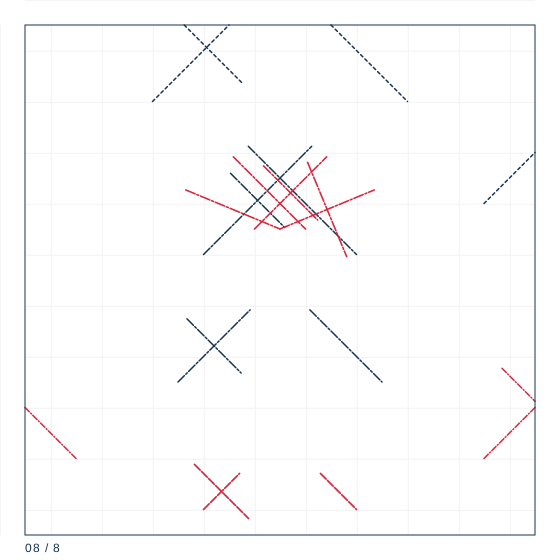
Step 8
Pull the two wing points apart, push the centre of the body down, and splay the wing tips so the swan stands.
Counting the neck
From a 20 cm sheet, the neck point after step 5 is 11.6 cm long, and it will finish at 9.4 cm once the S curve is set. If you shape it before thinning the wings, the neck will droop under its own weight while you work. Thin the wings first, then set the neck.
Two bends, not one
A real swan's neck has two bends: one where it leaves the body, one where it meets the head. Model one bend and you get a goose. Make the first bend at 3.5 cm from the body, angled up 55 degrees, and the second at 7.4 cm, angled forward 70 degrees. Those two angles are what produce the S.
The body
The body is opened in step 8 by pulling the two wing points apart and pushing the centre down. A 20 cm swan sits 9 cm tall with a body 8.5 cm long. Folded from 80 gsm paper it will stand unsupported; from 60 gsm it needs the wing tips to be splayed slightly to make a tripod.
Paper specification
| Sheet size | 20 cm |
|---|---|
| Sheet ratio | 1:1 |
| Paper weight | 80 gsm |
| steps | 8 |
| Difficulty | ★★★☆☆ |
| Base | bird-neck |
20 cm square at 80 gsm. The neck is a single narrow strip, so the paper must hold a curve without splitting along the grain.
Crease symbol quick reference
| Crease notation used | count | first move |
|---|---|---|
| Mountain fold | 1 | Locate the line on the diagram; confirm the direction by looking at the adjacent valley folds. |
| Valley fold | 2 | Bring the edge or corner exactly to its target point and hold it there. |
| Reverse fold | 2 | Open the point along its existing crease, all the way to the base. |
| Inside reverse fold | 2 | Open the point along its existing crease until it lies flat in the opposite direction. |
| Petal fold | 1 | Fold the cross crease where the new point will begin, then unfold it. |
What goes wrong
The neck droops
It was shaped before the wings were thinned and the paper has stretched. Fold from 80 gsm and thin the wings first.
It looks like a goose
Only one neck bend was made. Add the second bend 7.4 cm from the body.
Making it hold
- Thin the wings before shaping the neck; the neck is the part that sags.
- Make both neck bends as inside reverse folds so the creases stay hidden.
- Splay the wing tips a few degrees to make a stable tripod.