★★★★★ Advanced · 12 steps
Kawasaki Rose
Published · By The Origami Desk
The rose that Toshikazu Kawasaki designed in 1999 made people rethink what paper could do: no cuts, no glue, and a spiral centre that forms itself when the whole sheet is twisted.
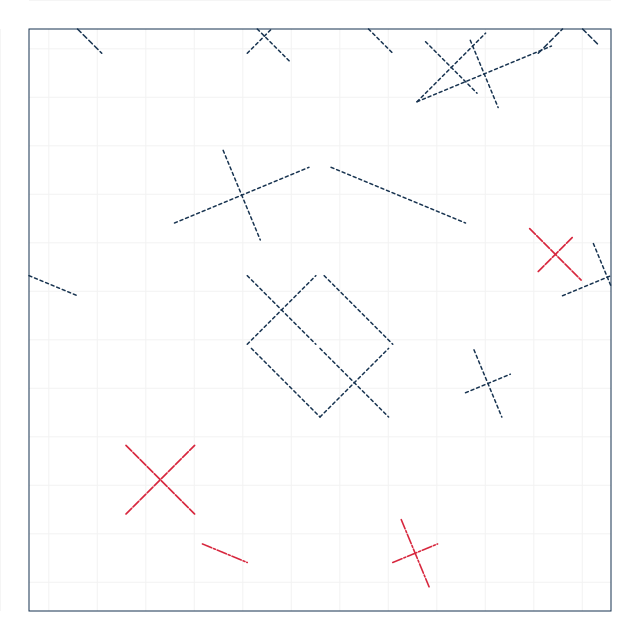
finished crease pattern
Fold sequence
12 / 12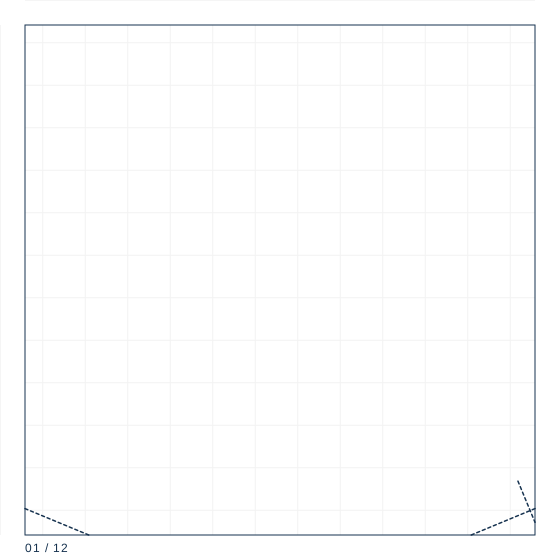
Step 1
Square 24 cm, coloured side up. Fold both diagonals and both centre lines, then fold the two vertical thirds and two horizontal thirds, giving a 4 x 4 grid.
Step 2
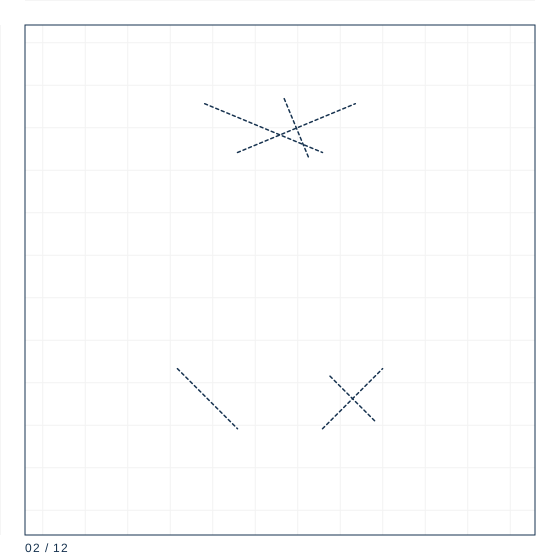
Fold each of the four corners to the exact centre point and crease hard, then unfold all four.
Step 3
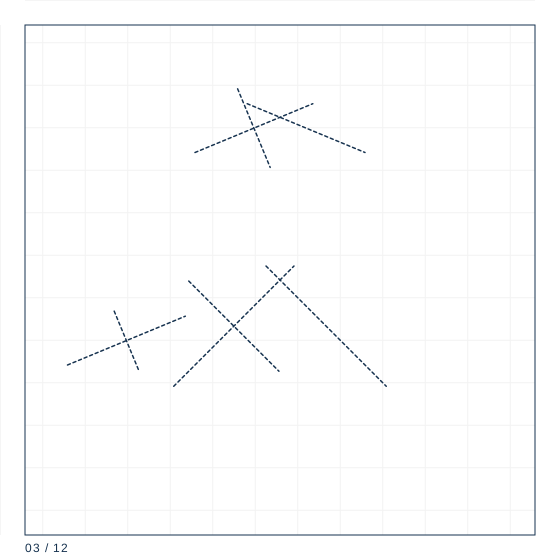
Fold each corner again to the centre of the nearest quarter square, then unfold. You now have the sixteen 22.5 degree creases the twist needs.
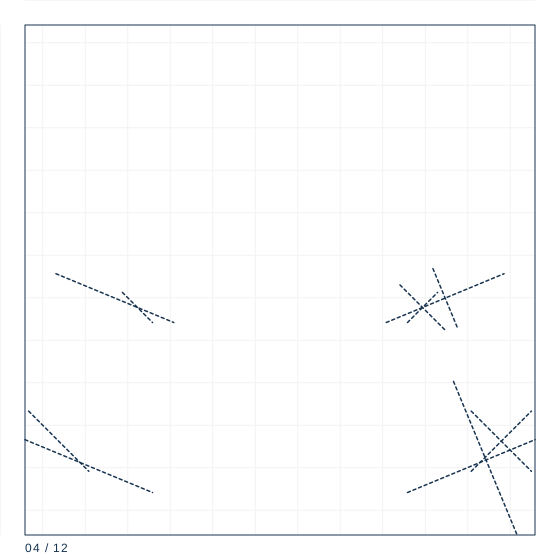
Step 4
Collapse the sheet along the creases so the four corner squares fold inward and the four side squares rise as petals.
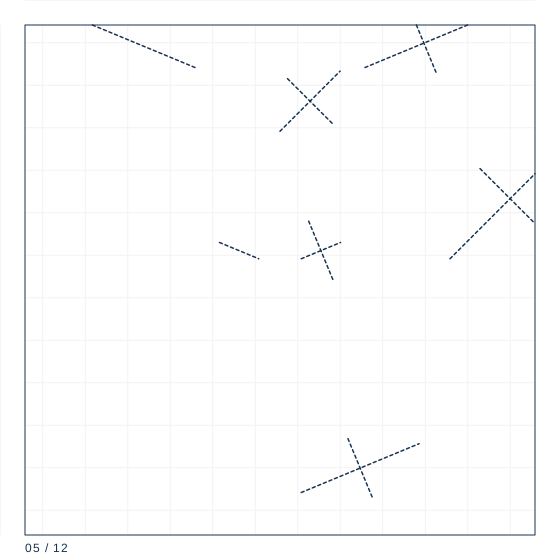
Step 5
Flatten the collapsed shape into a square with a small pinwheel at its centre.
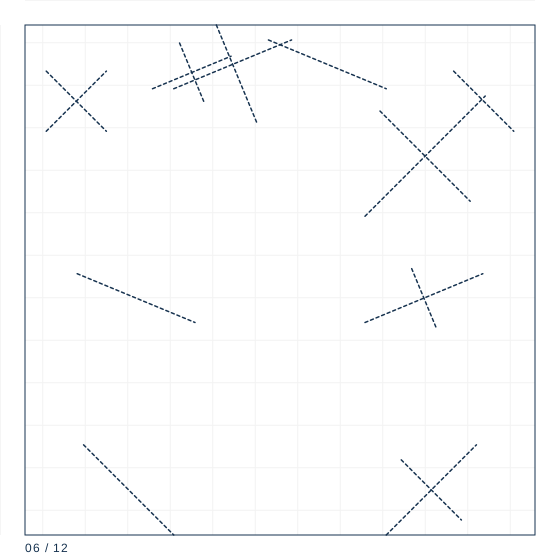
Step 6
Fold the four points of this square down to the centre and crease, then unfold them all.
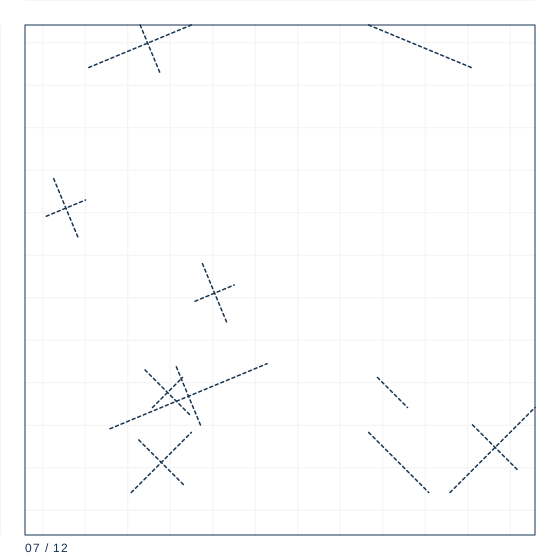
Step 7
Open the model slightly and push the centre up from below so the pinwheel becomes a shallow dome.
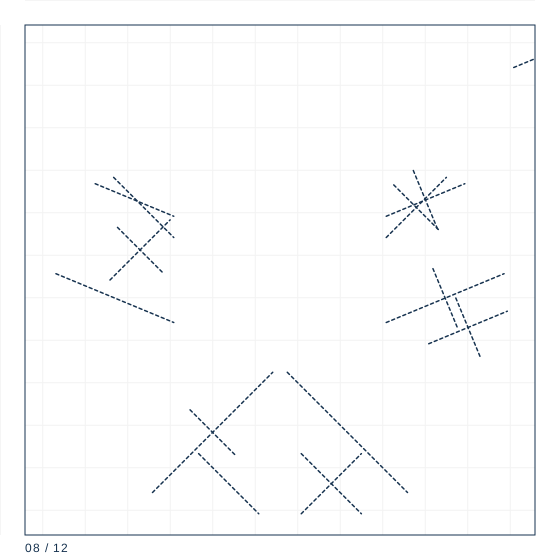
Step 8
Fold the four edges of the dome inward by 8 mm to make the inner ring of petals, working around the ring in one direction.
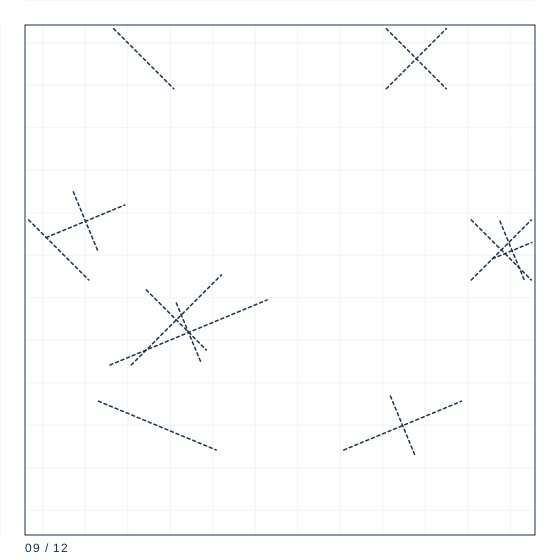
Step 9
Turn the model over and fold the four corners of the back to the centre, then unfold them.
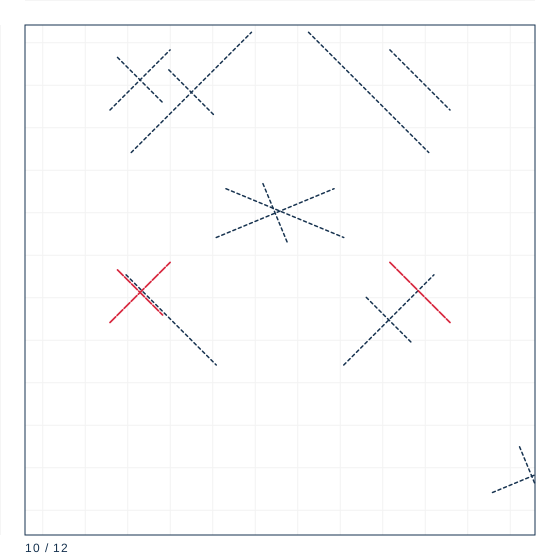
Step 10
Hold the whole base in both hands and twist the top 45 degrees clockwise in one even motion. The spiral centre rises as you twist.
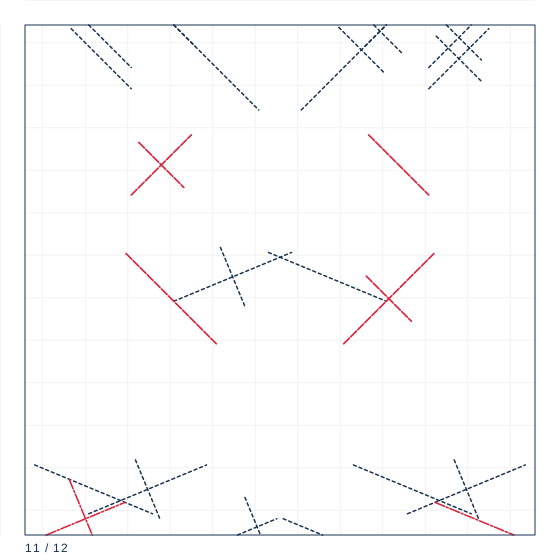
Step 11
Roll each of the four outer petals outward over a pencil for two thirds of its length.
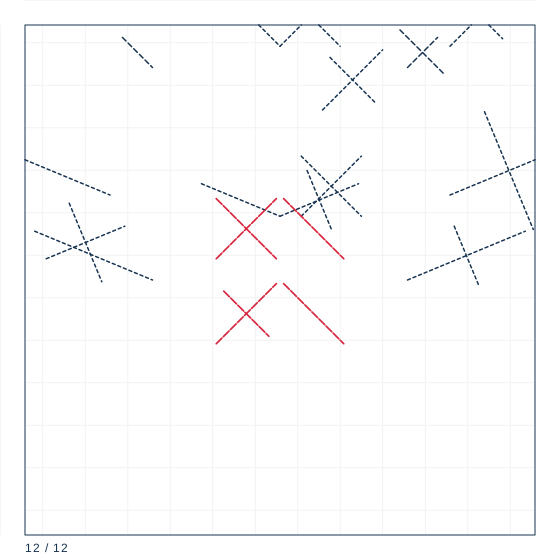
Step 12
Curl the inner ring petals slightly inward, then open the centre with a fingertip so all four spiral arms are visible from above.
Sixteen creases, and all of them exact
The base is a 4 x 4 grid of 22.5 degree folds radiating from the centre, which is where all eight of the first creases come from. Every one has to pass through the centre of the sheet; if a single crease misses the centre by 1 mm, the twist at step 10 will not close and the rose will have a visible gap at its heart. On a 24 cm sheet, work to 0.5 mm.
The twist
Step 10 is where the flower appears. The whole base is held between both hands and rotated about 45 degrees clockwise, and the centre spiral rises on its own. Twisting is done in one motion with even pressure from both hands; twisting one side first creases the centre irregularly and the spiral comes out square instead of round.
Shaping the petals
Steps 11 and 12 roll each of the four outer petals outward around a pencil or a chopstick. Roll about two thirds of the petal length, not all of it: rolling to the base makes the flower look like a carnation. A finished 24 cm rose is 7.8 cm across and 5.2 cm tall.
Paper specification
| Sheet size | 24 cm |
|---|---|
| Sheet ratio | 1:1 |
| Paper weight | 80 gsm |
| steps | 12 |
| Difficulty | ★★★★★ |
| Base | kawasaki-twist |
24 cm square at 80 gsm, or 30 cm for a rose you intend to give away. The twist needs paper that takes a crease sharply but does not crack when rolled.
Crease symbol quick reference
| Crease notation used | count | first move |
|---|---|---|
| Mountain fold | 2 | Locate the line on the diagram; confirm the direction by looking at the adjacent valley folds. |
| Valley fold | 8 | Bring the edge or corner exactly to its target point and hold it there. |
| Reverse fold | 1 | Open the point along its existing crease, all the way to the base. |
| Squash fold | 1 | Open the flap along its own centre crease and stand it upright. |
What goes wrong
The centre has a gap
One of the sixteen creases missed the centre point. Unfold to step 3 and re-crease; the error compounds at the twist.
The spiral centre is square
The twist was done one side at a time. Reopen, then twist evenly with both hands in a single motion.
Making it hold
- Get all sixteen 22.5 degree creases through the centre point before collapsing anything.
- Twist in one motion with even pressure from both hands, not one side then the other.
- Roll the outer petals for two thirds of their length only.