★★★★☆ Advanced · 10 steps
Butterfly (After Yoshizawa)
Published · By The Origami Desk
The butterfly that Akira Yoshizawa folded in the 1960s is still the standard, because it is the first butterfly made without cutting the wings apart. The forewings and hindwings are one continuous flap on each side.
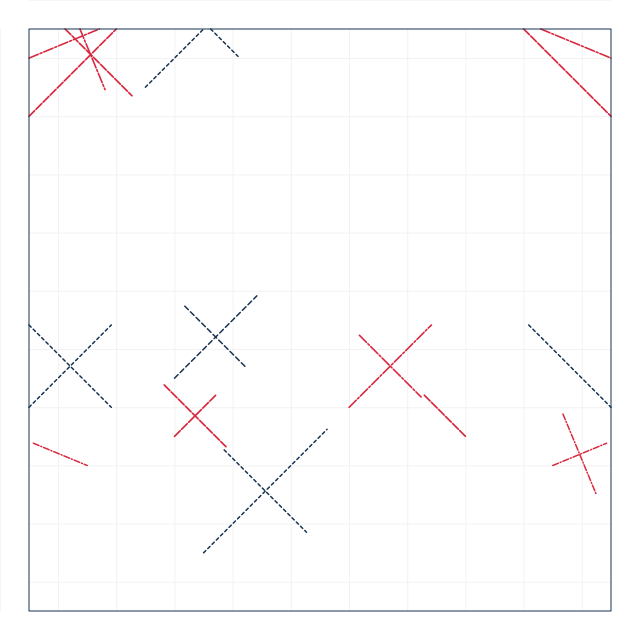
finished crease pattern
Fold sequence
1 / 10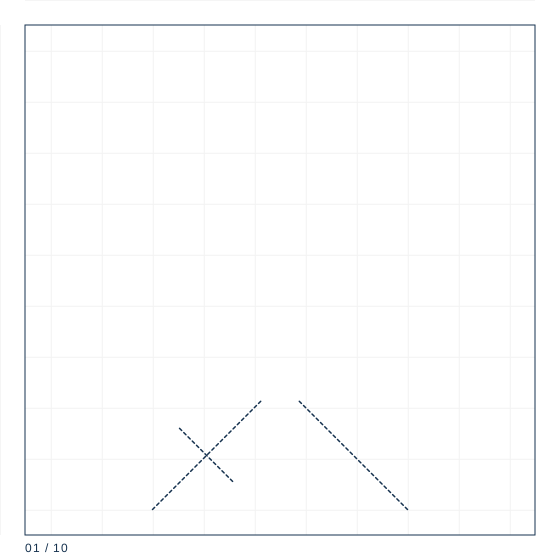
Step 1
Square 20 cm, coloured side up. Fold both diagonals and both centre lines as valleys, then collapse onto the preliminary base.
Why it is hard
The model has 10 steps but at least four of them are sink folds, which have to be formed by lifting the whole model and reshaping an interior point. On a 20 cm sheet the second sink sits 4.2 cm in from the corner and is almost impossible to reach with the model lying flat. Work with the paper in the air and use a fingernail to start the sink from the underside.
The wing shape
Steps 7 and 8 set the forewing at 62 degrees from the body and the hindwing at 48 degrees. Those two numbers are what distinguish this butterfly from hundreds of imitations: too close and the wings look like a moth's, too far apart and the silhouette falls apart into four separate triangles.
Finishing without ironing
The finished butterfly is 13.4 cm across and 8.1 cm tall from the 20 cm sheet, and it should be shaped with fingers only. An iron flattens the wing curve and the model immediately looks like a pressed flower. Curl each forewing upward slightly at the tip and each hindwing downward, and stand it on the folded edge of the body rather than on the wings.
Paper specification
| Sheet size | 20 cm |
|---|---|
| Sheet ratio | 1:1 |
| Paper weight | 80 gsm |
| steps | 10 |
| Difficulty | ★★★★☆ |
| Base | blintz-wings |
20 cm square at 80 gsm, folded from the coloured side up so the wing pattern lands on the visible face. Yoshizawa's original used hand-made washi.
Crease symbol quick reference
| Crease notation used | count | first move |
|---|---|---|
| Mountain fold | 2 | Locate the line on the diagram; confirm the direction by looking at the adjacent valley folds. |
| Valley fold | 4 | Bring the edge or corner exactly to its target point and hold it there. |
| Reverse fold | 2 | Open the point along its existing crease, all the way to the base. |
| Petal fold | 1 | Fold the cross crease where the new point will begin, then unfold it. |
| Squash fold | 1 | Open the flap along its own centre crease and stand it upright. |
What goes wrong
The wings tear at the body
The sink in step 5 was forced from the wrong side. Open it out and start the sink from the underside with a fingernail.
It looks like a moth
The forewings were set too close to the hindwings. Re-open and re-set to 62 and 48 degrees.
Making it hold
- Make the sinks with the model in the air; a flat model cannot be sunk at that depth.
- Set the forewing at 62 degrees and hindwing at 48 degrees, and check both sides match.
- Shape with fingers only — an iron destroys the wing curve.