★★★★☆ Advanced · 11 steps
Peacock with a Pleated Tail Fan
Published · By The Origami Desk
The peacock is really two models: a bird base body and a fan of pleats. The pleats are what makes it difficult, because each one has to be the same width as the last or the fan curls to one side.
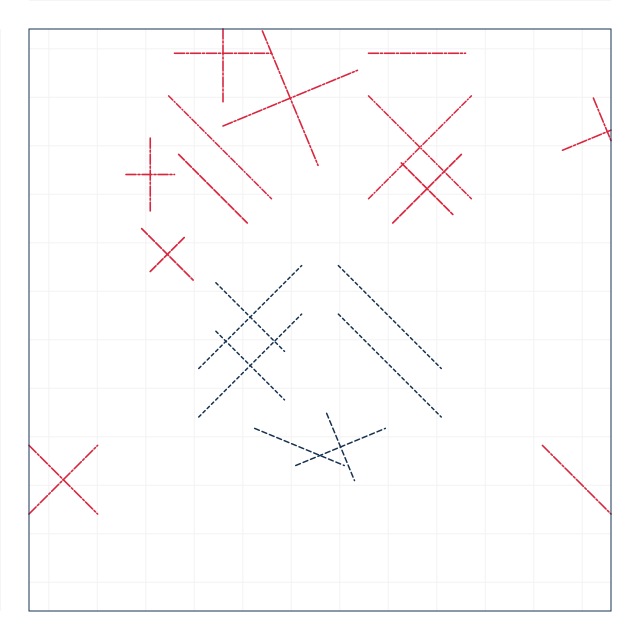
finished crease pattern
Fold sequence
11 / 11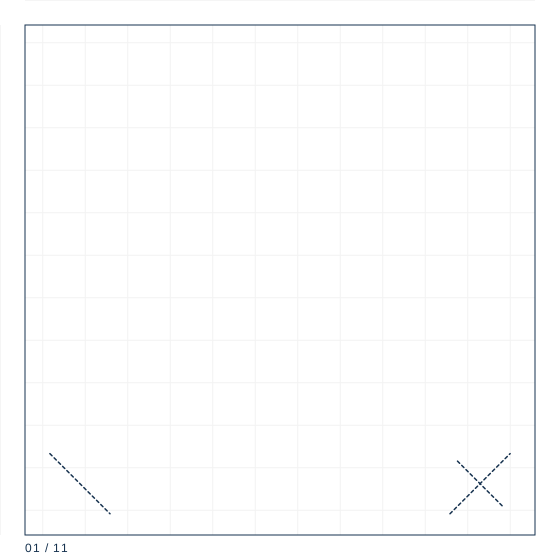
Step 1
Square 24 cm. Fold both diagonals and both centre lines as valleys, then collapse onto the preliminary base.
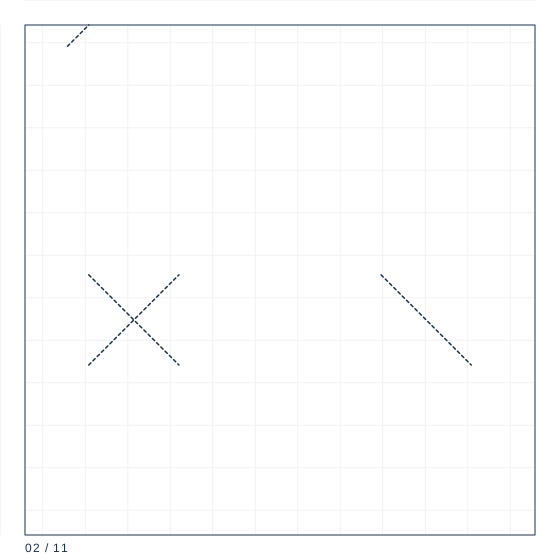
Step 2
Fold the lower edges of the front layer in to the centre line, then petal fold the front layer flat. Turn over and repeat on the back — you have a bird base.
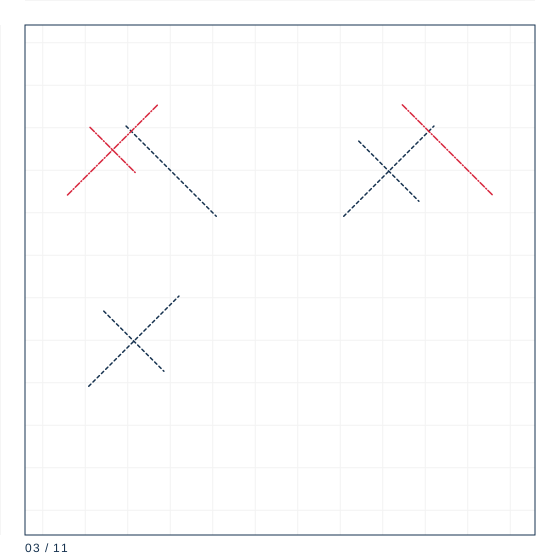
Step 3
Fold the front point up at 6 cm from its base to form the neck, then bend it forward at 2.4 cm to form the head.
Step 4
Reverse fold the head tip down 8 mm to make the beak and thin the neck by folding its side edges in.
Step 5
Fold the back point upward to 60 degrees — this is the tail stalk.
Step 6
Measure the tail into six equal strips 1.1 cm wide using a ruler, marking alternately from the left edge.
Step 7
Crease all eleven lines of the pleat fan, alternating mountain and valley so the tail becomes an accordion.
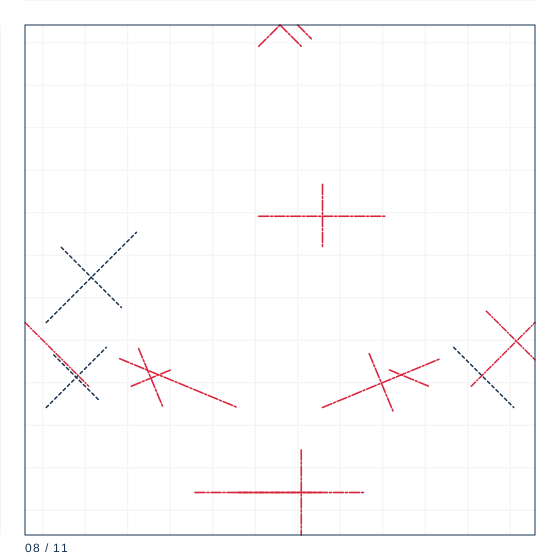
Step 8
Reverse fold the outermost two pleats outward at 15 degrees each to widen the fan's silhouette.
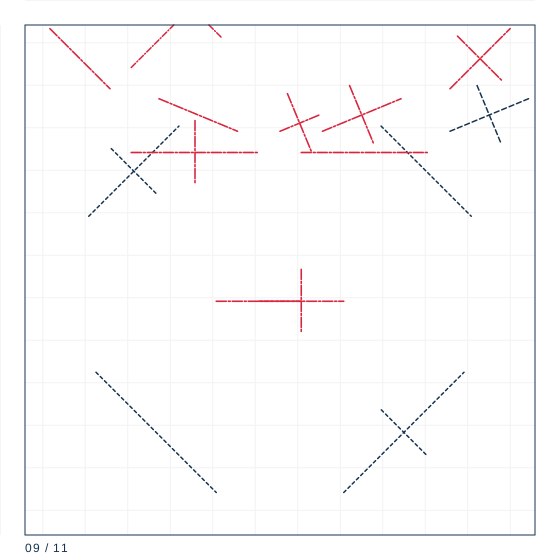
Step 9
Squash the base of the fan flat where it meets the body so the pleats spread rather than bunch.
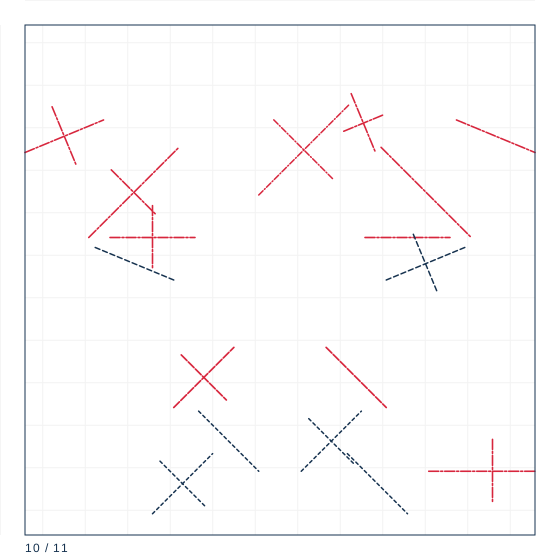
Step 10
Open each pleat from the outer edge inward to 140 degrees, checking against the first one as you go.
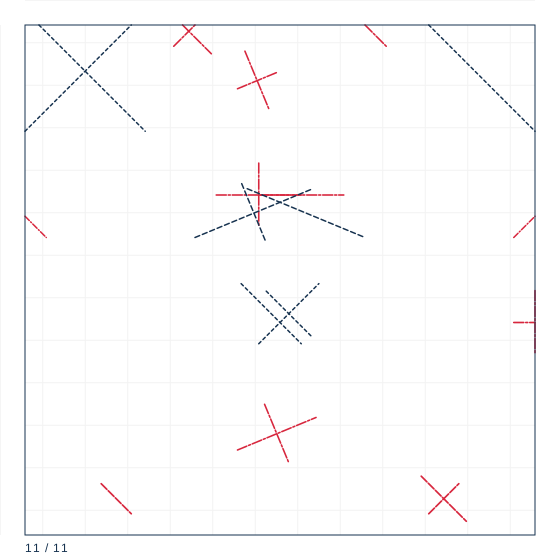
Step 11
Fold the legs forward 5 degrees, press the fan's bottom edge flat, and stand the peacock on its tripod.
The pleat fan
Steps 6 to 8 make six pleats in the tail, each 1.1 cm wide on a 24 cm sheet. Six pleats require eleven creases, all parallel, all the same distance apart. Mark them with a ruler first, folding the paper into halves and thirds alternately, and only then crease them. Folded freehand, the fan will be visibly uneven by two or three millimetres at the outer edge.
Opening the fan
The pleats are folded flat and then opened to 140 degrees. Opening is done from the outer edge inward, one pleat at a time, and each pleat must be opened to the same angle. On a 24 cm sheet the fan opens to 17.8 cm wide and 11.2 cm tall behind the bird.
Standing the model
A finished peacock stands on its legs and the bottom edge of the fan, forming a tripod. The fan edge needs to be pressed flat where it touches the table; a rounded fan edge makes the model tip backward. If it still leans, fold the legs forward by 5 degrees rather than trimming the fan.
Paper specification
| Sheet size | 24 cm |
|---|---|
| Sheet ratio | 1:1 |
| Paper weight | 70 gsm |
| steps | 11 |
| Difficulty | ★★★★☆ |
| Base | bird-fan |
24 cm square at 70 gsm. The tail fan needs length more than stiffness; from 20 cm paper the fan comes out stubby and the plumes overlap.
Crease symbol quick reference
| Crease notation used | count | first move |
|---|---|---|
| Mountain fold | 2 | Locate the line on the diagram; confirm the direction by looking at the adjacent valley folds. |
| Valley fold | 2 | Bring the edge or corner exactly to its target point and hold it there. |
| Reverse fold | 5 | Open the point along its existing crease, all the way to the base. |
| Petal fold | 1 | Fold the cross crease where the new point will begin, then unfold it. |
| Squash fold | 1 | Open the flap along its own centre crease and stand it upright. |
What goes wrong
The fan curls to one side
The pleats are not equal. Unfold the fan, re-measure six strips at 1.1 cm, and re-crease.
The model tips backward
The fan's bottom edge is rounded. Press it flat, and fold the legs forward 5 degrees.
Making it hold
- Mark all six pleats with a ruler before creasing any of them.
- Open the fan pleats from the outer edge inward, matching each to the first.
- Press the fan's contact edge flat or the model tips backward.