★★★☆☆ Core folds · 10 steps
Paper Crane (Orizuru)
Published · By The Origami Desk
The crane is the one model where the crease pattern matters more than the folds. Get the bird base accurate and the remaining six steps are almost automatic; get it skewed by a millimetre and no amount of shaping will hide it.
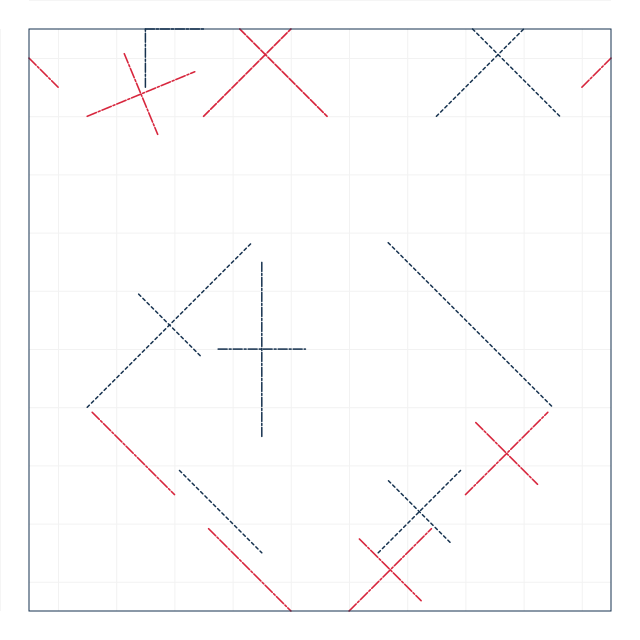
finished crease pattern
Fold sequence
10 / 10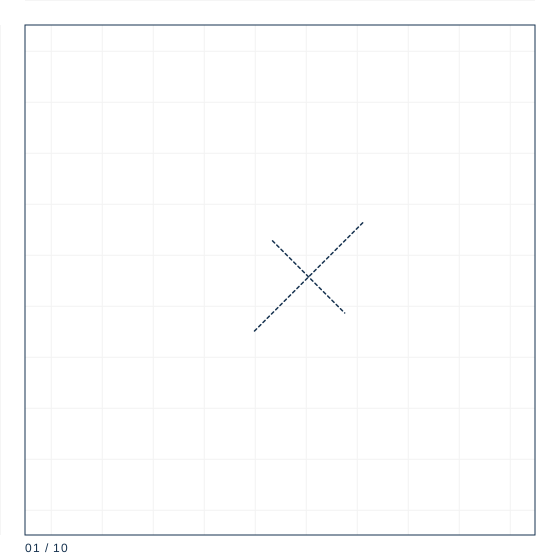
Step 1
Square 15 cm, white side up. Fold both diagonals as valleys and both centre lines as valleys, then collapse onto the preliminary base — a square with four open flaps.
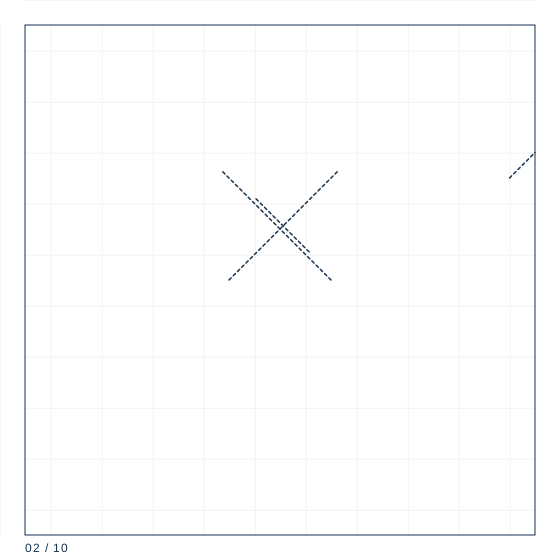
Step 2
Make sure all four corners of the preliminary base are exactly on top of each other, then place it with the open end down.
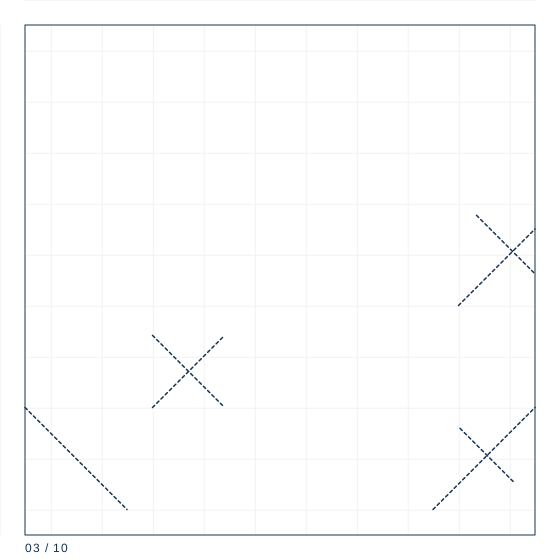
Step 3
Fold the lower left edge of the top layer in to the centre line, then the lower right edge in to the centre line. These two folds make a kite shape.
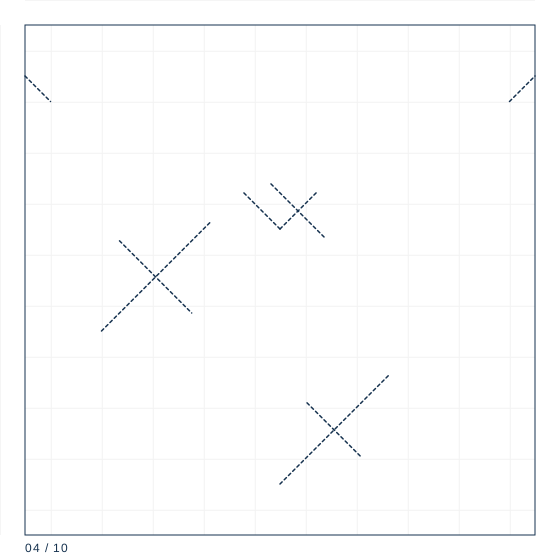
Step 4
Fold the top triangle of the kite down over the two flaps, crease, and unfold it.
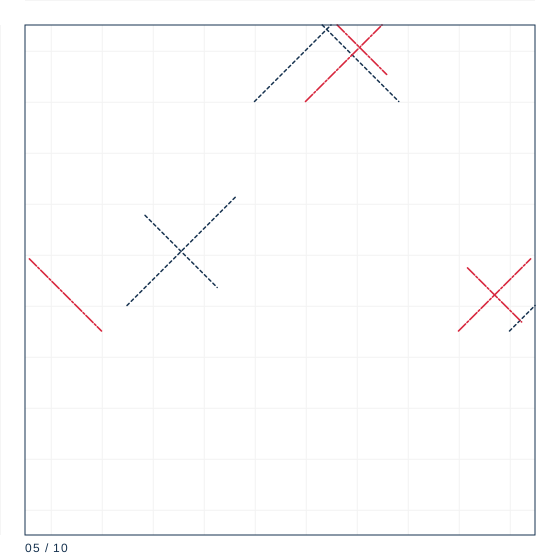
Step 5
Open the top layer upward using the crease from step 4 and squash it flat so the sides swing in to the centre. This is the petal fold.
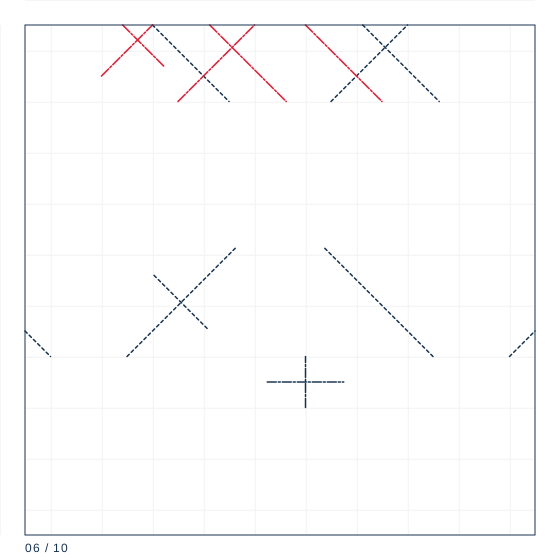
Step 6
Turn the model over and repeat steps 3 to 5 on the back. You now have the bird base: two long thin points and two short flaps.
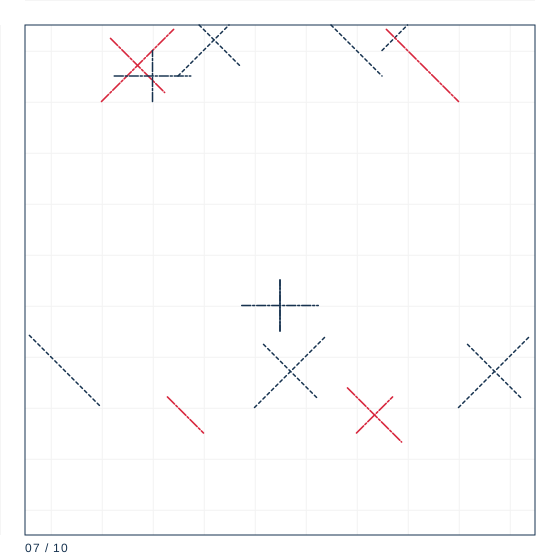
Step 7
Reverse fold the front point up and inward to make the head, and the back point up and inward to make the tail. Both folds sit the same distance from the point base.
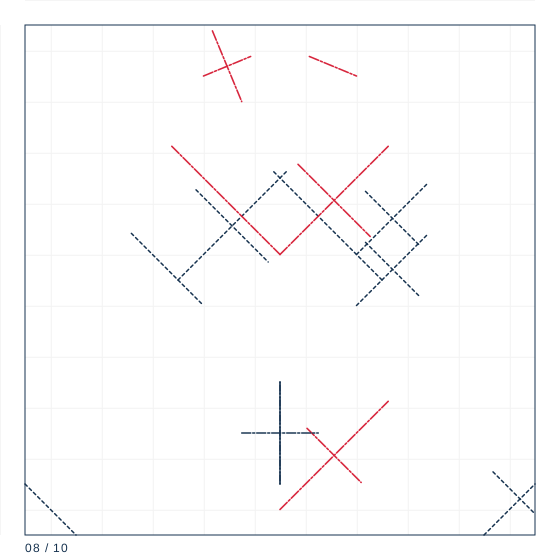
Step 8
Bend the tip of the head down with a small inside reverse fold to form the beak.
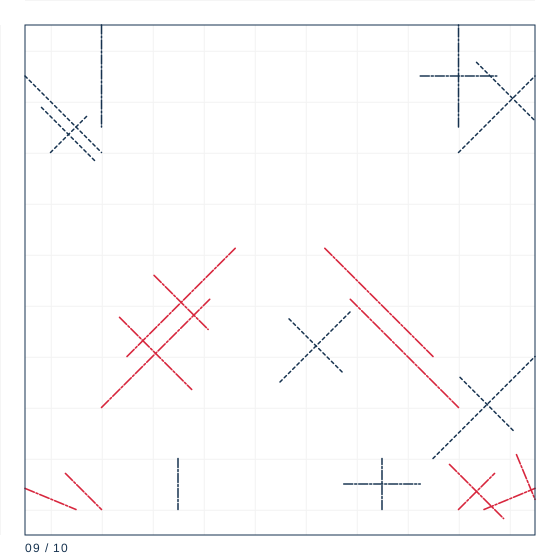
Step 9
Fold both wings down so their tips meet over the body. Fold one wing down further than the other so the crane stands.
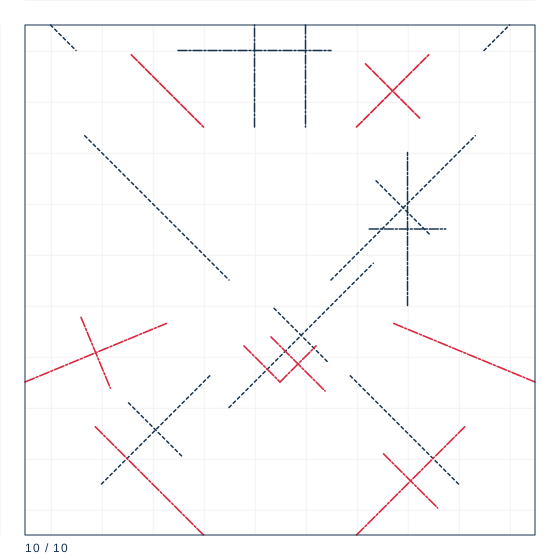
Step 10
Open the wings out from the body and press a slight curve into each one with your thumb. Push the body down at the centre so the crane sits on its feet.
The bird base is the whole model
Steps 1 to 6 build the bird base: a square collapsed on both diagonals with two long points and two short ones. The test of a good bird base is that all four flaps can be opened to exactly 90 degrees without the centre splitting. If they cannot, the preliminary base in step 3 was folded off-centre by more than about 0.5 mm.
The two inside reverse folds
Steps 7 and 8 are where most cranes go wrong. An inside reverse fold turns a point back on itself from the inside, so the crease is hidden between the layers. The head and tail points must be reversed at the same height: measure from the base of each point, not from the tip. On a 15 cm crane, the folds sit 3.8 cm up from the base of the point.
Shaping and the thousand
Steps 9 and 10 fold the wings down and bend the head over. Fold wings down at 45 degrees for a standing crane or horizontally for a hanging one. A crane from 70 gsm paper keeps a clean head fold for years; a 15 cm crane weighs 1.6 g, so a thousand of them weigh 1.6 kg, which is why the thousand-crane chains are usually strung on 6-strand embroidery floss rather than thread.
Paper specification
| Sheet size | 15 cm |
|---|---|
| Sheet ratio | 1:1 |
| Paper weight | 70 gsm |
| steps | 10 |
| Difficulty | ★★★☆☆ |
| Base | bird |
The canonical size is 15 cm at 70 gsm, which gives a crane with a 10 cm wingspan. Foil paper gives crisper wings but tears if you fold it twice in the same place.
Crease symbol quick reference
| Crease notation used | count | first move |
|---|---|---|
| Mountain fold | 1 | Locate the line on the diagram; confirm the direction by looking at the adjacent valley folds. |
| Valley fold | 4 | Bring the edge or corner exactly to its target point and hold it there. |
| Reverse fold | 4 | Open the point along its existing crease, all the way to the base. |
| Inside reverse fold | 2 | Open the point along its existing crease until it lies flat in the opposite direction. |
What goes wrong
The crane leans to one side
The two inside reverse folds are at different heights. Unfold both and re-measure 3.8 cm from the point base.
The centre of the body tears
The petal fold in step 5 was forced instead of squashed. Open it and let the sides ride in along the existing creases.
Making it hold
- Check the preliminary base symmetry by looking through it at a window before collapsing further.
- Make the head and tail reverse folds at the same height measured from the base, not the tip.
- Curve the wings outward, not downward; a downward curve makes the crane look dead.