★★☆☆☆ Modular · 8 steps
Four-Point Shuriken (Two-Sheet Modular)
Published · By The Origami Desk
The throwing star is the standard first modular model: two identical units, folded in about ninety seconds each, that hold together by nothing but the tension in four folded pockets.
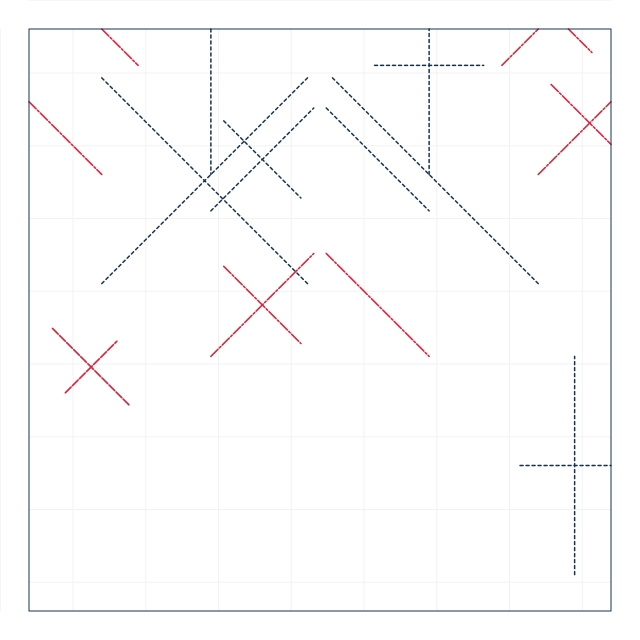
finished crease pattern
Fold sequence
8 / 8
Step 1
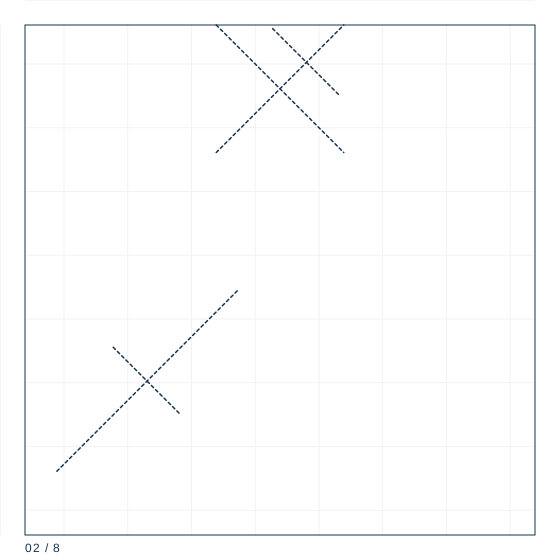
Unit A: square 10 cm, coloured side up. Fold it in half diagonally and unfold, then fold in half the other diagonal and unfold.
Step 2
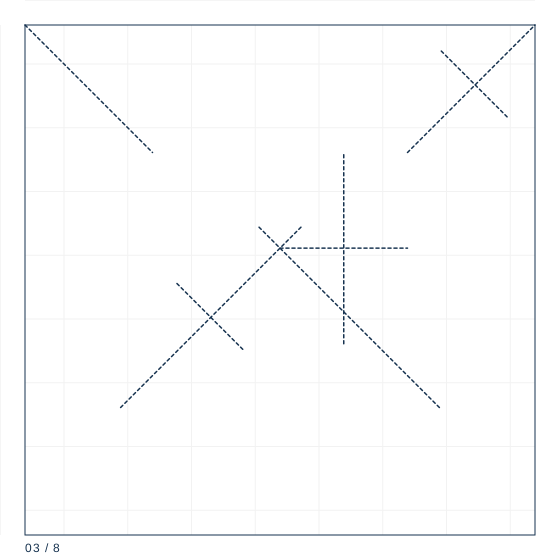
Fold the left and right edges in to the centre line, forming a kite with two long points.
Step 3
Fold the bottom point up to the top point and crease, then unfold. Fold the bottom point up only to the horizontal centre line and leave it folded.
Step 4
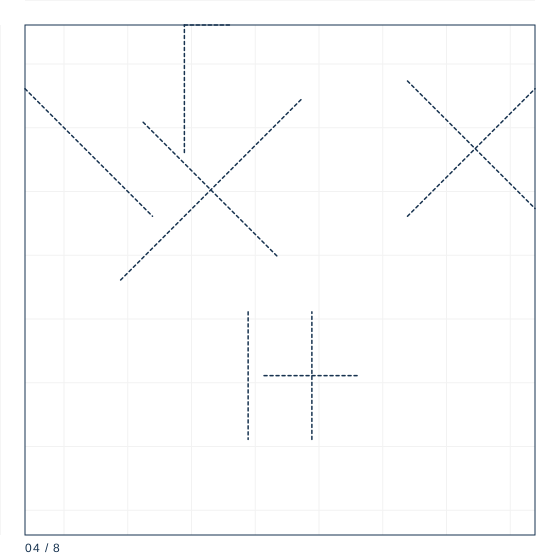
Fold the two lower side edges in to the centre line so the bottom half becomes a narrow point.
Step 5
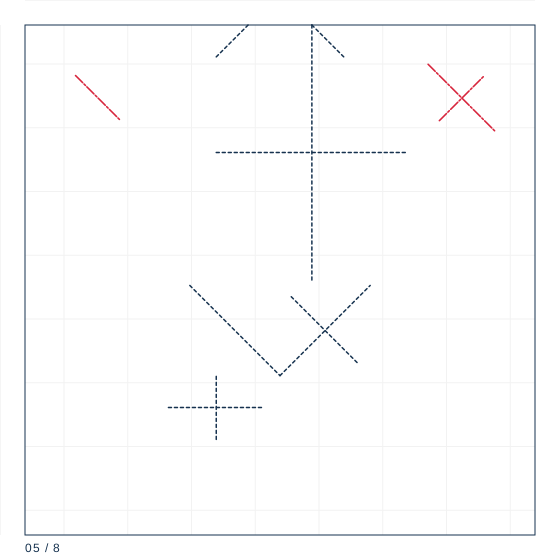
Fold the top half down over the narrow point, then fold the whole unit in half along the horizontal centre line.
Step 6
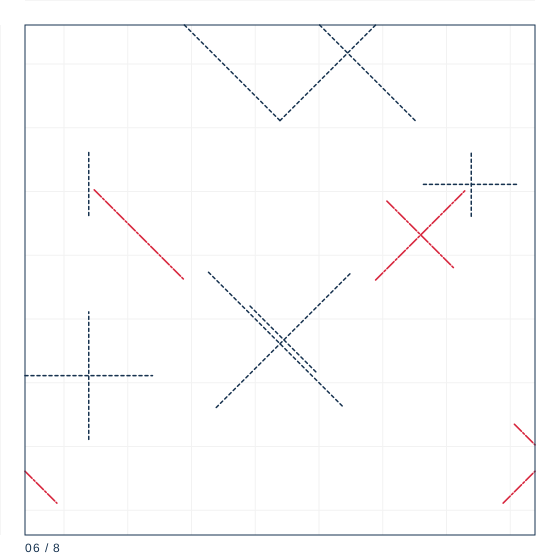
Repeat steps 1 to 5 with the second square to make unit B. Both units are identical.
Step 7
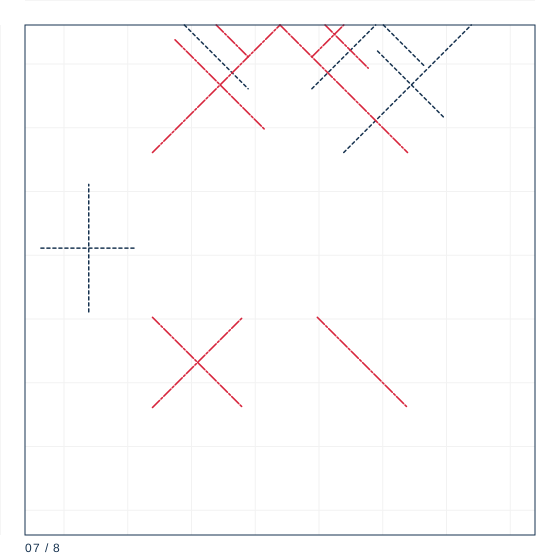
Rotate unit B by 180 degrees so its points face the opposite way, then slide its two points into the two pockets on unit A.
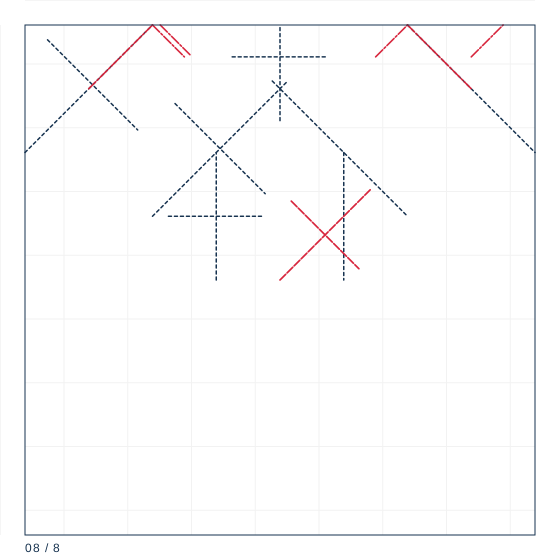
Step 8
Push until the two units resist and the pocket openings are hidden. Flatten the join with your thumb and adjust the four points to equal angles.
Two units, opposite chirality
Fold both units with exactly the same sequence, then rotate one 180 degrees before joining. The units are identical, not mirrored — this surprises people who expect a modular model to need a left and a right version. Each unit is a parallelogram with two pockets and two points.
The join
Steps 7 and 8 are the join. Lay unit A point-up and unit B point-down, then slide B's two points into A's two pockets until they resist. The star is fully assembled when you cannot see the pocket openings. From 10 cm squares the star is 11.5 cm point to point and about 2.5 mm thick.
Making it throwable
A paper shuriken will not stick into anything, but it flies surprisingly well. For distance, fold the points slightly upward (about 10 degrees) so it behaves like a flat wing. For a star that survives being thrown indoors, use 100 gsm paper and add one small piece of tape at the join — the join is the only part that fails.
Paper specification
| Sheet size | 10 cm |
|---|---|
| Sheet ratio | 1:1 |
| Paper weight | 80 gsm |
| steps | 8 |
| Difficulty | ★★☆☆☆ |
| Base | modular-4 |
Two 10 cm squares of 80 gsm, or four 7.5 cm squares for the eight-point version. Two-tone paper helps because the modules interlock visibly.
Crease symbol quick reference
| Crease notation used | count | first move |
|---|---|---|
| Mountain fold | 1 | Locate the line on the diagram; confirm the direction by looking at the adjacent valley folds. |
| Valley fold | 4 | Bring the edge or corner exactly to its target point and hold it there. |
| Reverse fold | 3 | Open the point along its existing crease, all the way to the base. |
What goes wrong
The star falls apart
The two units were joined without rotating one by 180 degrees. Separate and rejoin with opposite orientation.
One point is longer
Unit B was folded from a slightly different size square. Cut both squares from the same sheet.
Making it hold
- Fold both units with the same sequence; do not mirror them.
- Slide the points in one at a time, not both at once.
- Crease the pockets from the inside so they open wide enough to receive the points.