★★★☆☆ Core folds · 9 steps
Lotus Flower (Two-Layer)
Published · By The Origami Desk
A lotus is a blintz that has been folded, unfolded, and folded again so the same sheet becomes two nested rings of petals. The whole model is the sequence of relaxations at the end.
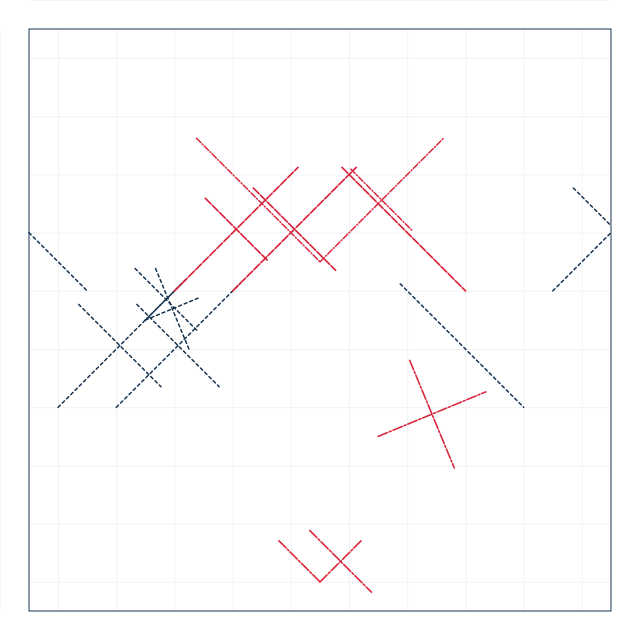
finished crease pattern
Fold sequence
9 / 9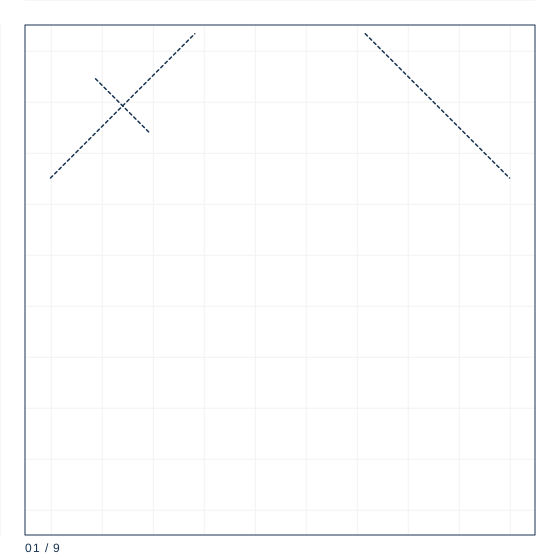
Step 1
Square 18 cm, coloured side up. Fold both diagonals and both centre lines as valleys, then unfold completely.
Step 2
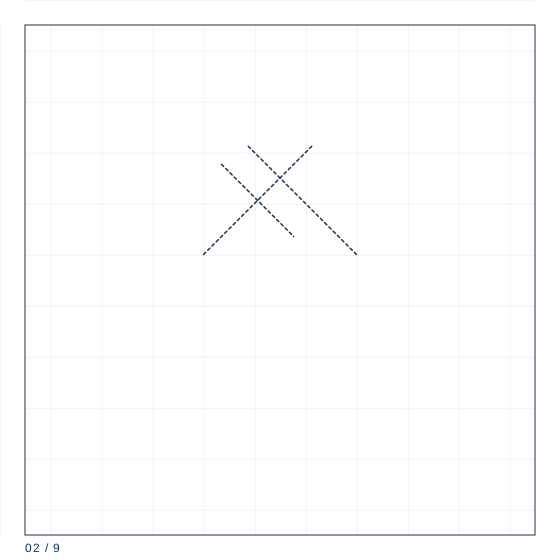
Fold all four corners to the centre. This is the blintz, and it gives you a smaller square.
Step 3
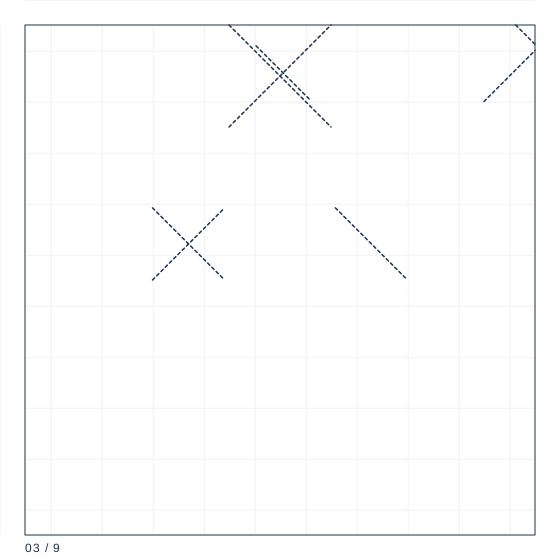
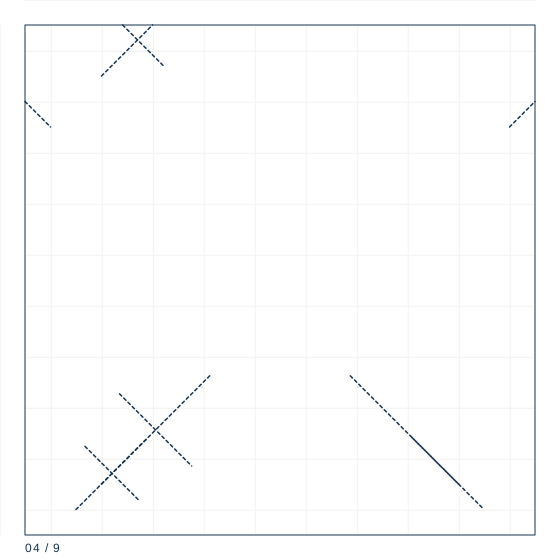
Unfold all four corners, then refold each one only to the point where its crease meets the diagonal. The corners now sit on the quarter lines.
Step 4
Fold the four new corners to the centre again, forming a smaller square inside the first.
Step 5
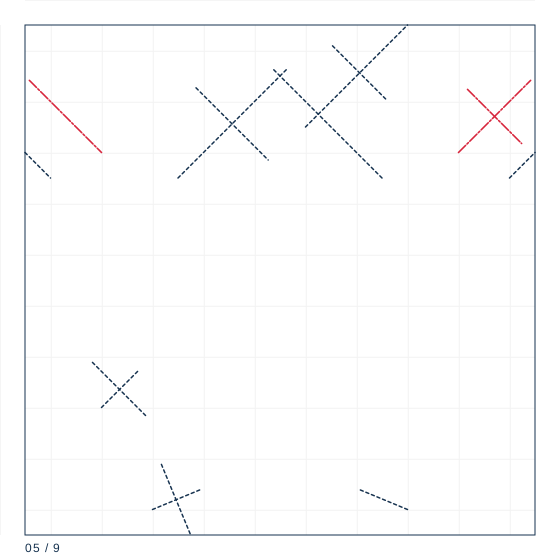
Fold all four corners of this inner square outward, back to the edges of the middle square, and crease hard.
Step 6
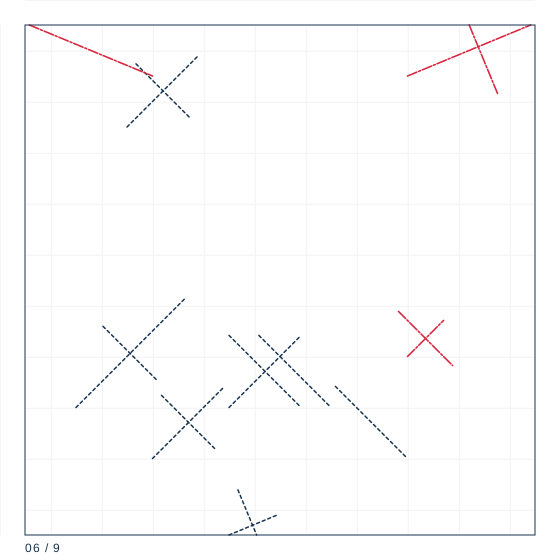
Turn the model over. Fold the four corners of the back to the centre, then unfold them all.
Step 7
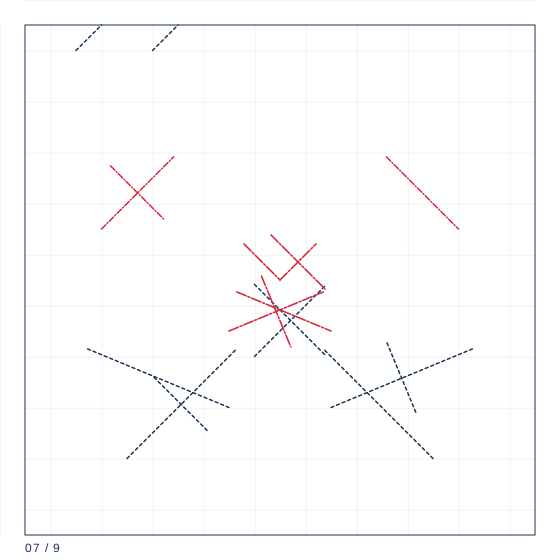
Turn it back over and lift the four short flaps that have appeared at the corners; these are the inner petals.
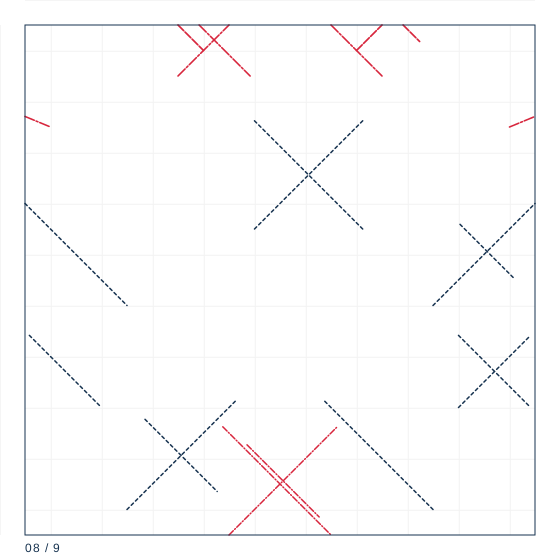
Step 8
Slide a finger under the first inner petal tip and push it outward while holding its base. Repeat around the ring, then adjust the four to the same angle.
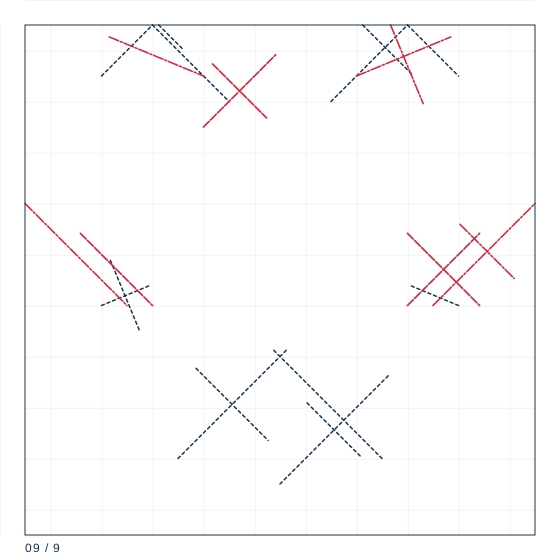
Step 9
Open the outer ring the same way, one petal at a time, then press the centre flat with a fingertip so the flower sits level.
Two rings from one sheet
The first four corners are folded to the centre, then each corner is folded back out to the edge of the resulting square. The inner ring of petals is formed by the first set of corner folds; the outer ring is formed by the second set, whose tips extend about 4 cm beyond the inner ring on an 18 cm sheet.
Opening it without tearing
Steps 8 and 9 are not folds, they are releases. Each petal is opened by sliding a finger under its tip and pushing it outward while the corner behind it stays put. Do one petal per ring at a time, in order around the flower. Forcing two adjacent petals at once splits the paper where their bases meet, and that tear is impossible to hide because it sits at the centre of the flower.
Sizing and display
An 18 cm lotus comes out 9.5 cm across and about 3 cm deep, and it will sit flat on a table without support. Scaled to 30 cm the petals begin to droop and need a wire or a foam ring beneath them. Placing a small tea light on a glass disc inside the flower is the usual way these get displayed, and it is safe because the paper never gets closer than 3 cm to the flame.
Paper specification
| Sheet size | 18 cm |
|---|---|
| Sheet ratio | 1:1 |
| Paper weight | 80 gsm |
| steps | 9 |
| Difficulty | ★★★☆☆ |
| Base | blintz-petal |
18 cm square at 80 gsm. Both sides get seen: the petal tips show the reverse, so a two-tone sheet reads better than a plain one.
Crease symbol quick reference
| Crease notation used | count | first move |
|---|---|---|
| Mountain fold | 2 | Locate the line on the diagram; confirm the direction by looking at the adjacent valley folds. |
| Valley fold | 5 | Bring the edge or corner exactly to its target point and hold it there. |
| Reverse fold | 2 | Open the point along its existing crease, all the way to the base. |
| Petal fold | 1 | Fold the cross crease where the new point will begin, then unfold it. |
What goes wrong
A petal tears at the centre
Two adjacent petals were opened together. Close both, then open them strictly one at a time.
The flower rocks on the table
The centre was left domed. Press it flat after both rings are open.
Making it hold
- Open the petals in order around the ring; skipping around pulls the centre out of square.
- Press each petal base flat before moving to the next one.
- If a petal will not hold its angle, re-crease the fold at its base with a fingernail.