★★☆☆☆ Starter folds · 7 steps
Round Lantern with Folded Ribs
Published · By The Origami Desk
The lantern is the waterbomb balloon's rounder cousin. Instead of bringing four corners to one point, it keeps four horizontal ribs, so the inflated body bulges into a barrel.
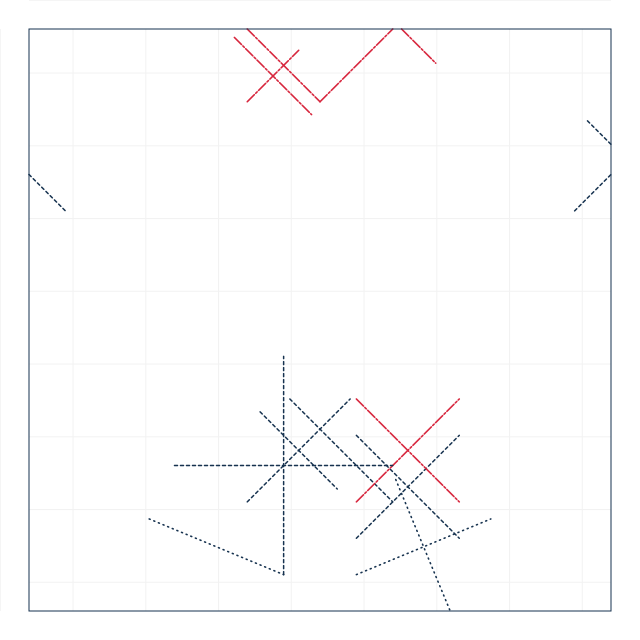
finished crease pattern
Fold sequence
7 / 7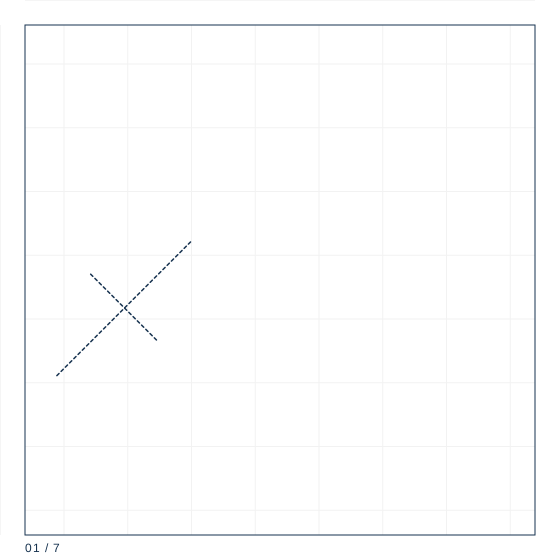
Step 1
Square 15 cm. Fold both diagonals and both centre lines as valleys, then collapse onto the preliminary base.
Step 2
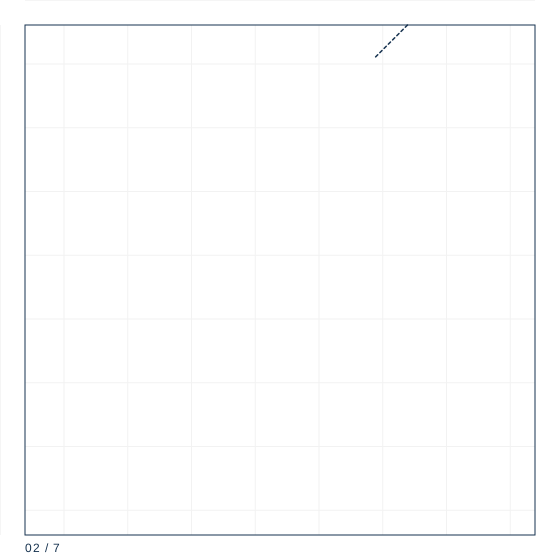
Flatten the base and make sure all four flaps are the same length.
Step 3
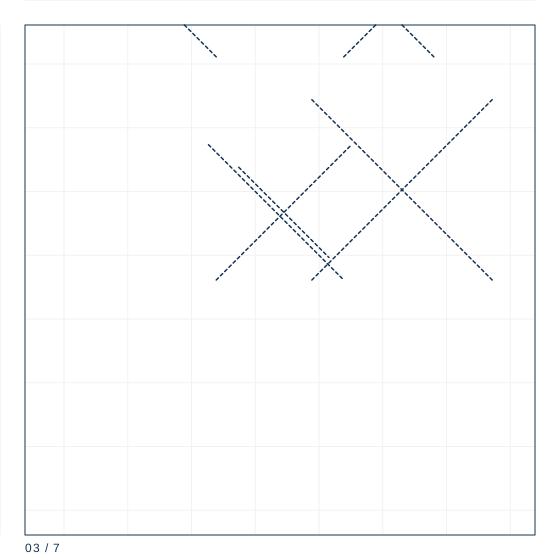
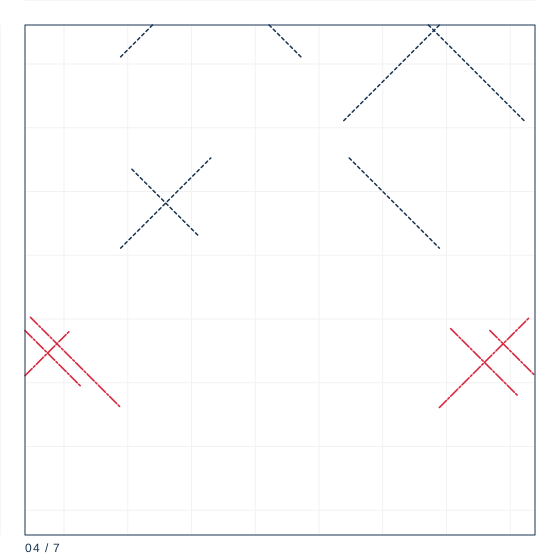
Fold the lower left and lower right edges of the front layer in to the centre line to make a kite, then fold the top triangle down and unfold it.
Step 4
Lift the front layer and squash it flat along that crease. This is the first rib.
Step 5
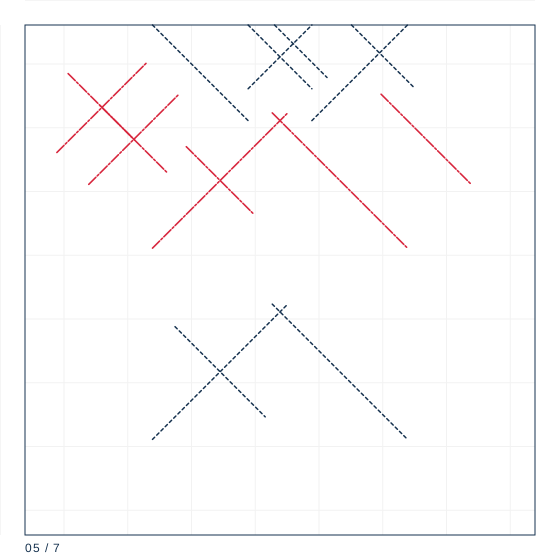
Turn the model over and repeat step 3 and 4 on the back. You now have a flat packet with two ribs.
Step 6
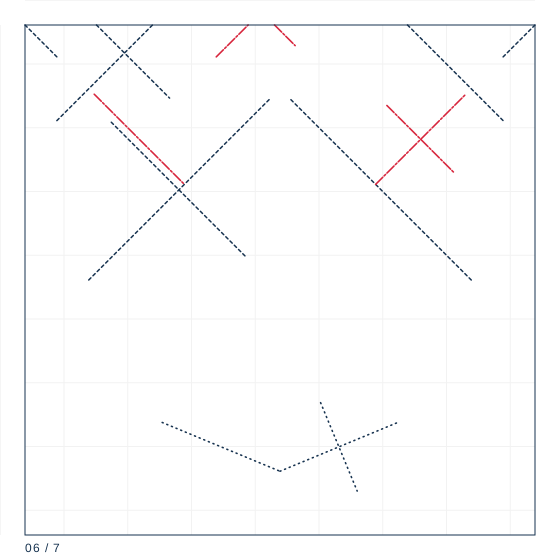
Fold the two sharp side points inward to meet the centre line, creasing each rib flat. The body becomes a narrow, round-cornered shape.
Step 7
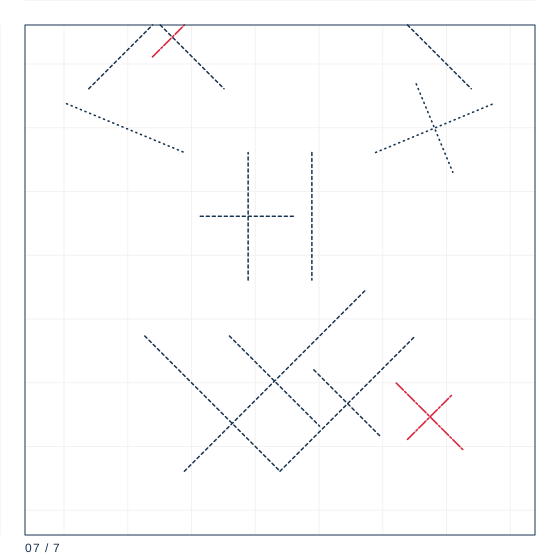
Find the small opening at the bottom, insert a drinking straw, and blow in short puffs until the four ribs are round. Tie a thread through the top point and hang it.
Ribs instead of corners
The waterbomb locks a cube by making all four corners meet. The lantern does the opposite: the four reverse folds in steps 4 to 6 are made perpendicular to the vertical axis, leaving four horizontal ribs at 1.5 cm, 3.4 cm, 5.6 cm and 7.8 cm up the body. Those ribs are what the paper bulges between.
Inflating from a narrow mouth
The lantern's opening is about 4 mm, roughly half the waterbomb's. Blow through a drinking straw rather than directly: direct breath delivers too much volume at once and blows the top rib out. Wait two seconds between puffs so the paper relaxes back.
Hanging it
Thread a 30 cm length of embroidery floss through the top point with a needle, tie a knot larger than the hole, and pull until the knot seats inside. A 15 cm lantern weighs 1.2 g and a single strand of floss holds about 4 kg, so the thread is never the limiting factor — the paper hole is. Reinforce the top point with a scrap of paper before threading if the lantern is going to hang for a season.
Paper specification
| Sheet size | 15 cm |
|---|---|
| Sheet ratio | 1:1 |
| Paper weight | 60 gsm |
| steps | 7 |
| Difficulty | ★★☆☆☆ |
| Base | waterbomb-lantern |
15 cm square at 60 gsm. Thin paper matters here: the lantern is inflated through a narrower opening than a waterbomb balloon.
Crease symbol quick reference
| Crease notation used | count | first move |
|---|---|---|
| Valley fold | 4 | Bring the edge or corner exactly to its target point and hold it there. |
| Reverse fold | 3 | Open the point along its existing crease, all the way to the base. |
| Sink fold | 1 | Identify whether the sink is open (no layers on top) or closed (layers pass over it). |
What goes wrong
The top rib splits
Over-inflated. Let air out through the straw and stop when the ribs are round, not tight.
The lantern is egg-shaped
The four reverse folds in steps 4 to 6 were spaced unevenly. Unfold to step 2 and re-space them at 1.5/3.4/5.6/7.8 cm.
Making it hold
- Inflate through a straw; direct breath is too much volume at once.
- Pause between puffs so the paper relaxes and the ribs set evenly.
- Smooth each rib outward with a fingernail after inflating, not before.