★★★★★ Advanced · 12 steps
Divine Dragon (After Kamiya, Simplified Path)
Published · By The Origami Desk
Satoshi Kamiya's dragon is the benchmark for complex origami: over 270 steps in the original, and every one of them on a single uncut square. This is the shortened path to the same silhouette, in twelve stages.
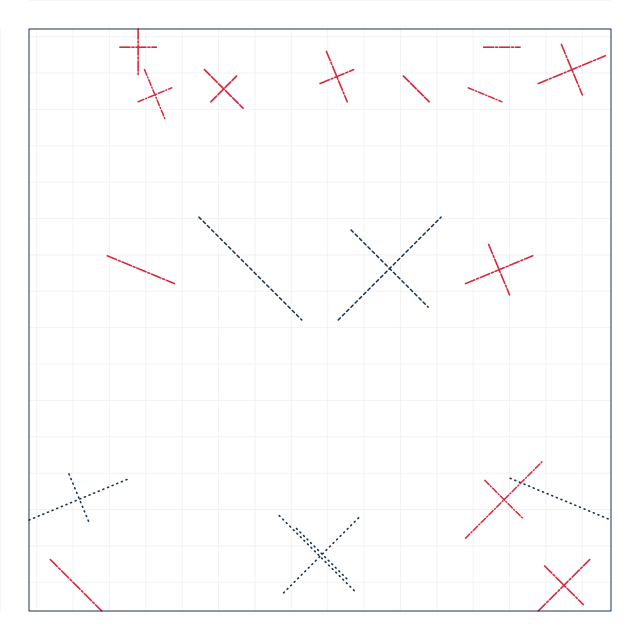
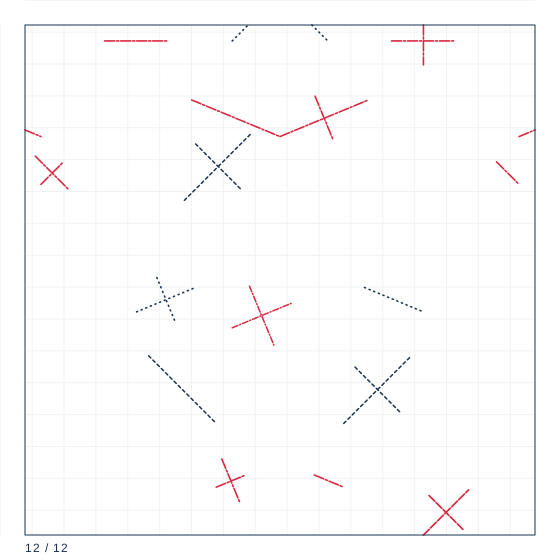
finished crease pattern
Fold sequence
12 / 12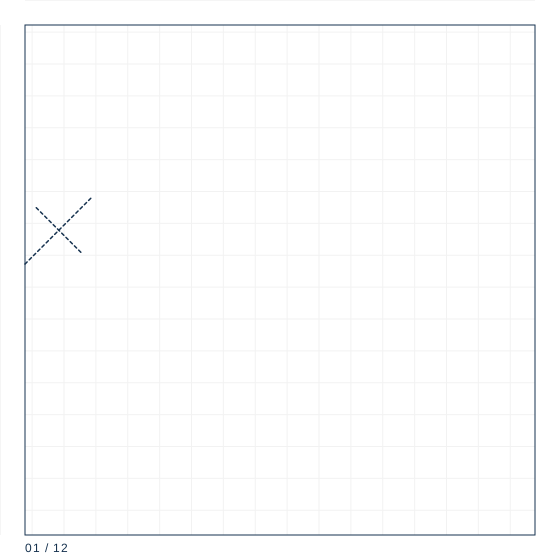
Step 1
Square 35 cm, white side up. Fold both diagonals and both centre lines, then collapse onto the preliminary base.
Step 2
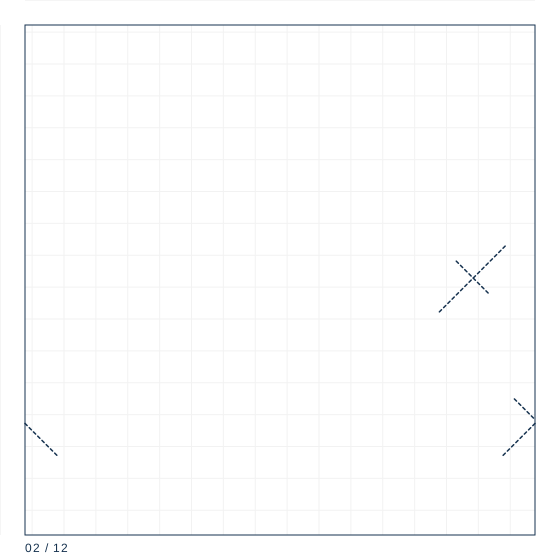
Fold the lower edges of the front layer in to the centre line and petal fold. Turn over and repeat, giving a bird base with two long points.
Step 3
Open the front long point and sink it inward at 7 cm from the base so the neck drops below the body line.
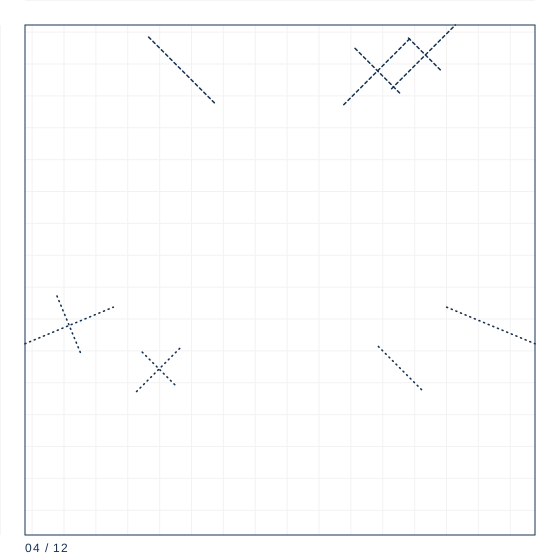
Step 4
Sink the tip of that same point again at 2.5 cm to form the head, then reverse fold the very tip down 1 cm for the snout.
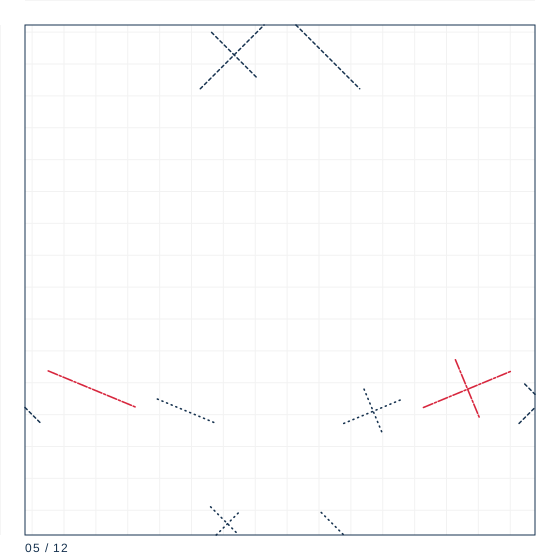
Step 5
Reverse fold the back long point upward at 5 cm to make the tail base.
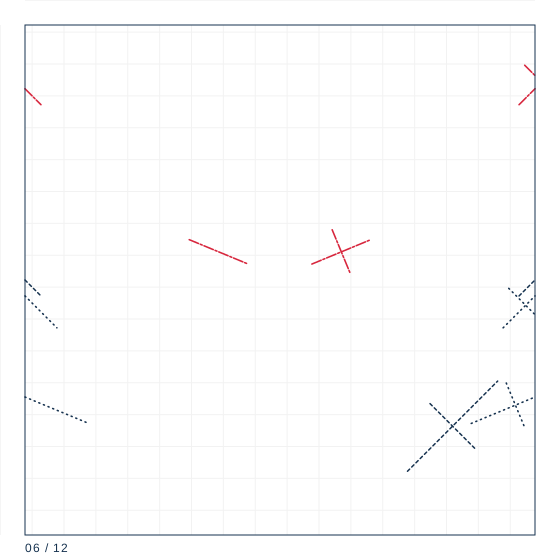
Step 6
Fold the two side flaps out at 22.5 degrees — these become the forelegs — and reverse fold each one at the midpoint to make a knee.
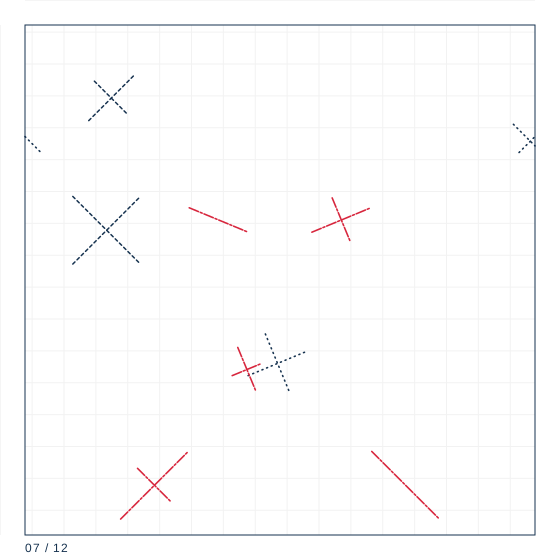
Step 7
Reverse fold the remaining two flaps down at 15 degrees to make the hind legs, and sink the base of each leg so it sits flush with the body.
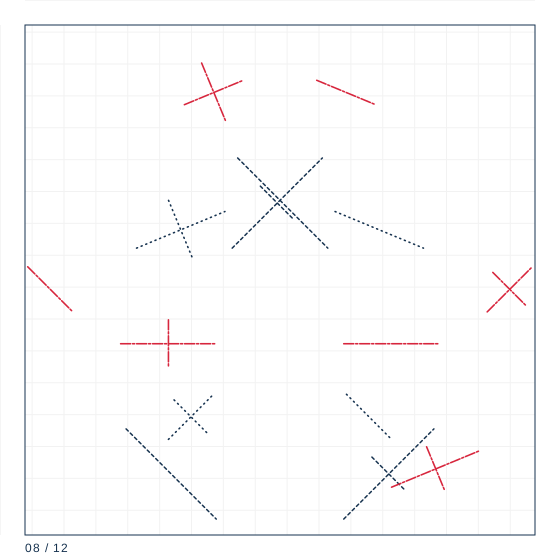
Step 8
Thin the body by folding both side edges in to the centre line along its whole length.
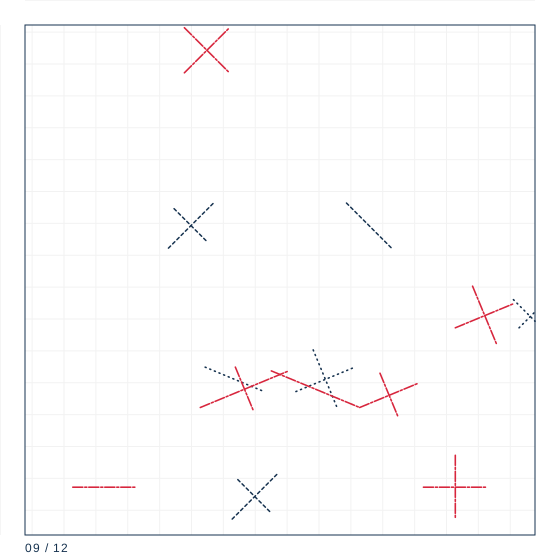
Step 9
Reverse fold the neck upward at 40 degrees to raise the head above the shoulders.
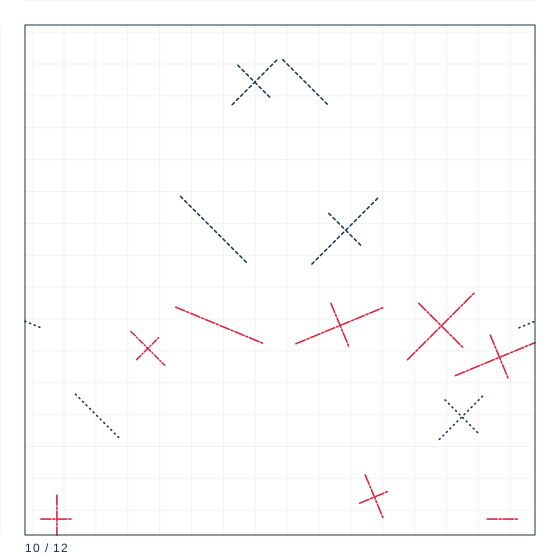
Step 10
Petal fold the tail base to spread it into a fan, keeping the layers even on both sides.
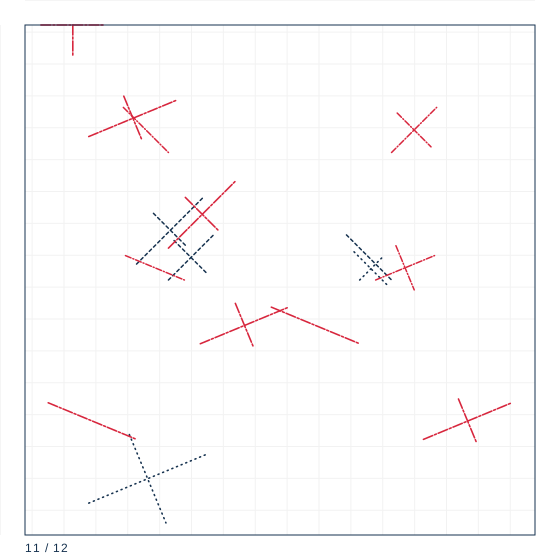
Step 11
Starting at the shoulder, pleat the outer layer into about forty scales, each 9 mm wide, running the pleats down the whole body and tail.
Step 12
Curve the body into an S, spread the four legs, and stand the dragon on its feet with the head turned to one side.
The 22.5 degree system
Almost every fold in this model is a multiple of 22.5 degrees, which is why the crease pattern is a fan of bisectors rather than a grid. The practical consequence is that errors do not average out: a 1 degree error in the initial diagonal bisectors shows up at the head as a 4 cm misalignment on a 35 cm sheet. Fold the first four creases with a protractor if you have to.
Sinking the head
Steps 3 and 4 sink the head and neck. A closed sink at this depth has to be formed from the inside: open the model, push the point inward from underneath until it inverts, then close the layers around it. Doing this with the model held in the air rather than on the table is the difference between a clean neck and a torn one.
Scales and the finished object
Step 11 forms about forty scales along the body by pleating the outer layer. Each scale is about 9 mm wide on a 35 cm dragon. The finished model is 42 cm long from nose to tail tip and 11 cm tall at the shoulder, and it takes between four and six hours for a first attempt. Paper choice is not optional: 60 gsm double-tissue holds the pleats, 80 gsm copier paper cracks along them within a day.
Paper specification
| Sheet size | 35 cm |
|---|---|
| Sheet ratio | 1:1 |
| Paper weight | 60 gsm |
| steps | 12 |
| Difficulty | ★★★★★ |
| Base | kamiya-dragon |
35 cm square of 60 gsm double-tissue or thin kraft. Anything smaller and the scales in step 11 cannot be formed; anything thicker and the layered body will not close.
Crease symbol quick reference
| Crease notation used | count | first move |
|---|---|---|
| Mountain fold | 1 | Locate the line on the diagram; confirm the direction by looking at the adjacent valley folds. |
| Valley fold | 2 | Bring the edge or corner exactly to its target point and hold it there. |
| Reverse fold | 5 | Open the point along its existing crease, all the way to the base. |
| Sink fold | 2 | Identify whether the sink is open (no layers on top) or closed (layers pass over it). |
| Petal fold | 2 | Fold the cross crease where the new point will begin, then unfold it. |
What goes wrong
The neck tears at the sink
The sink was forced from outside. Open the model and invert the point from underneath instead.
The scales crack within a day
Paper too thick. Use 60 gsm double-tissue or thin kraft; copier paper cannot hold the pleats.
Making it hold
- Use a protractor for the first four creases; the 22.5 degree system does not forgive guessing.
- Sink the head with the model in the air, not on the table.
- Pleat the scales from the shoulder toward the tail so the overlaps run the right way.