★★★☆☆ Core folds · 9 steps
Cicada (Semi, from the Frog Base)
Published · By The Origami Desk
The cicada is what the frog base was made for. The frog base gives four long points; two become the wings and two become the abdomen and the head, and nothing is cut or glued.
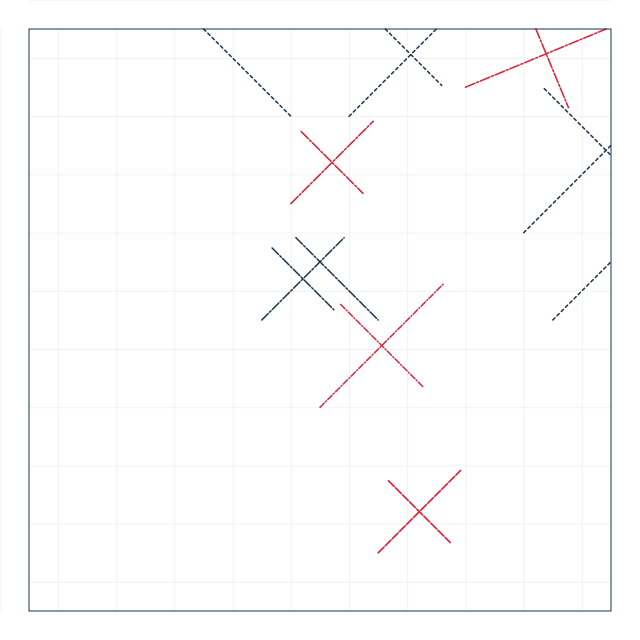
finished crease pattern
Fold sequence
9 / 9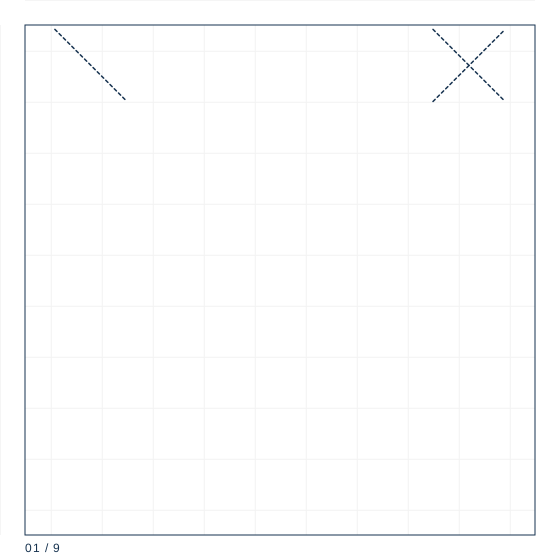
Step 1
Square 15 cm. Fold both diagonals and both centre lines as valleys, then collapse onto the preliminary base.
Step 2
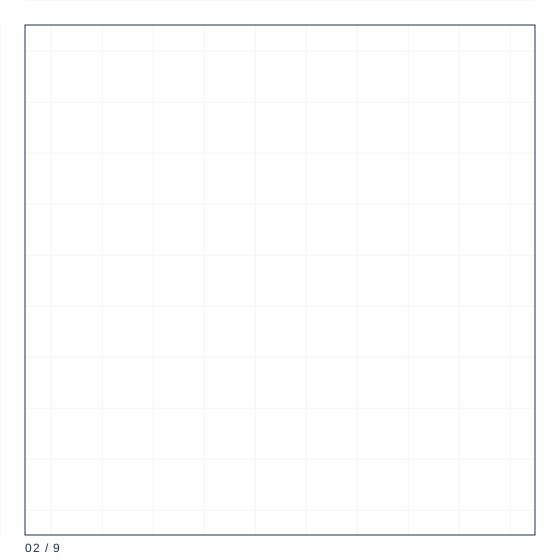
Fold the lower edges of the front layer in to the centre line, fold the top triangle down and unfold it, then petal fold the front layer flat.
Step 3
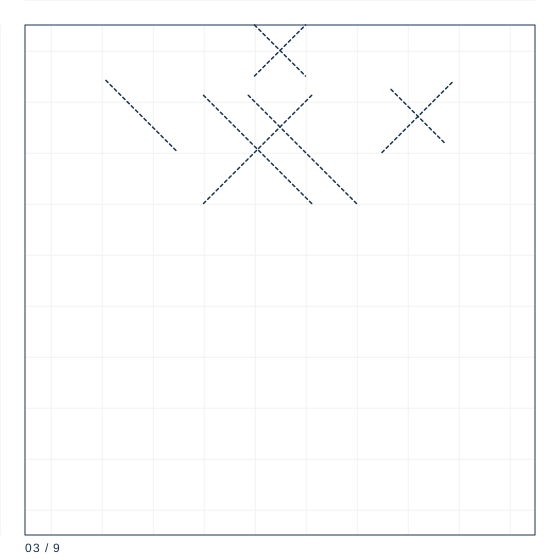
Turn the model over and repeat step 2 on the back. You now have a bird base.
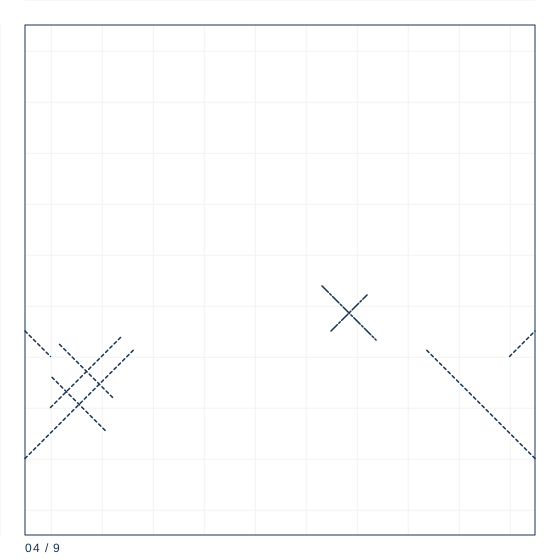
Step 4
Fold the lower edges of the front two flaps in to the centre line, fold the top triangle down and unfold, then petal fold those two flaps. Turn over and repeat.
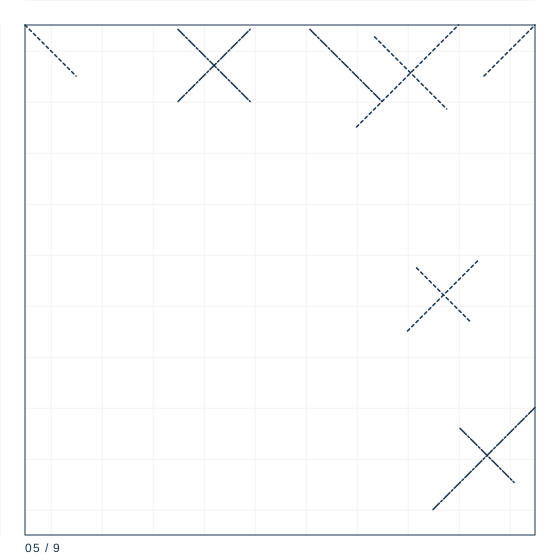
Step 5
You now have a frog base with four points. Open the two longer points outward to 45 degrees — these are the wings.
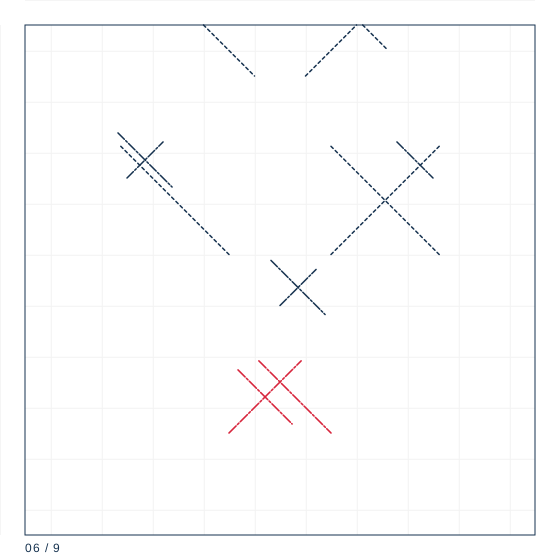
Step 6
Fold the two shorter points up and slightly outward; they become the abdomen and the head.
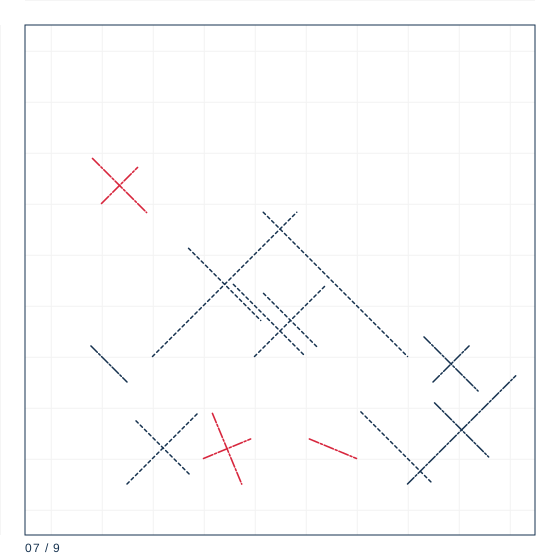
Step 7
Thin the left wing by folding its long edge in to the wing's own centre line, then repeat on the right wing.
Step 8
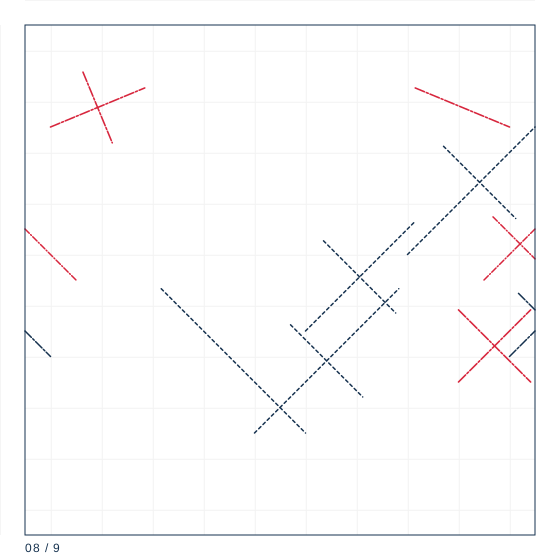
Fold both wings down to about 30 degrees from the body, then ease each one open until the tips rest on the table.
Step 9
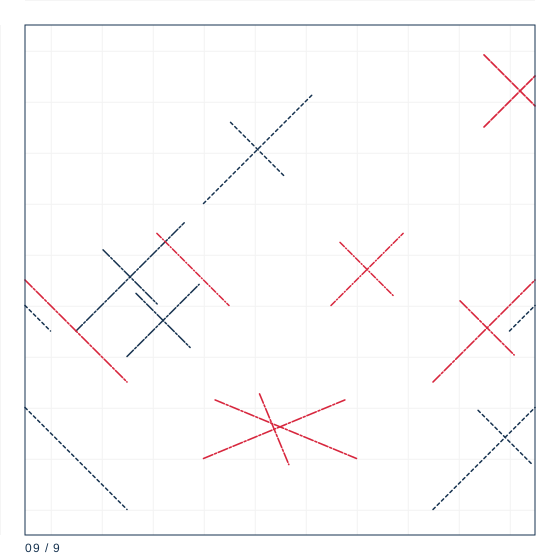
Inside reverse fold the head point down at 45 degrees, about 8 mm from the tip, and press the body into a slight curve.
Getting the frog base right
The frog base is a bird base with an extra petal fold on each of the two long flaps, which produces four points of unequal length. The two pairs must differ by at least 1 cm or the wings and body come out the same size and the model reads as a vague diamond. On a 15 cm sheet the wing points measure 8.2 cm and the body points 6.9 cm.
Thinning the wings
Steps 7 and 8 thin the wings by folding their long edges in to the centre. Each wing goes from 1.4 cm wide to 0.9 cm. Thinning is not decoration: it is what makes the finished cicada 1.1 mm thick instead of 2.4 mm, and it is the difference between a model that looks like an insect and one that looks like a folded envelope.
Angle of the wings
A real cicada holds its wings at about 30 degrees from the body, not flat. Fold each wing down at 30 degrees and then ease the fold open by a few degrees until the tips touch the table. Set the head with one small reverse fold about 8 mm from the tip, angled down 45 degrees.
Paper specification
| Sheet size | 15 cm |
|---|---|
| Sheet ratio | 1:1 |
| Paper weight | 70 gsm |
| steps | 9 |
| Difficulty | ★★★☆☆ |
| Base | frog-base |
15 cm square at 70 gsm. The wings are single-layer and show every stray crease, so fold on a hard flat surface with a bone folder.
Crease symbol quick reference
| Crease notation used | count | first move |
|---|---|---|
| Mountain fold | 1 | Locate the line on the diagram; confirm the direction by looking at the adjacent valley folds. |
| Valley fold | 3 | Bring the edge or corner exactly to its target point and hold it there. |
| Reverse fold | 2 | Open the point along its existing crease, all the way to the base. |
| Inside reverse fold | 2 | Open the point along its existing crease until it lies flat in the opposite direction. |
| Petal fold | 1 | Fold the cross crease where the new point will begin, then unfold it. |
What goes wrong
The body is as wide as the wings
The frog base's second petal fold was made on the wrong pair of flaps. The two petal folded flaps must be the long ones.
The wings curl
Paper too thick. Use 70 gsm; the thinned wing is three layers and 90 gsm will not lie flat.
Making it hold
- Check that the two long points are at least 1 cm longer than the short ones before forming the wings.
- Thin the wings from the tip inward so the fold tapers.
- Set the wings at 30 degrees then ease open, rather than folding them flat and pulling up.